
1960 THUNDERBIRD GAS TANK REPLACEMENT
(Should be applicable to all three years '58-'60)
By Eric Taylor ~ DKheld
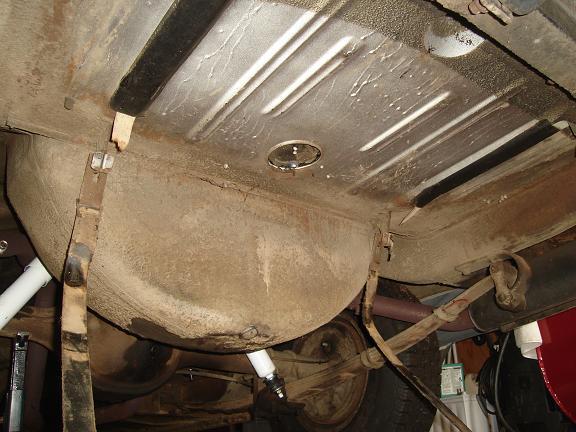
I started by washing my tank down with degreaser and mineral spirits to remove as much of the manufacturing oils and welding flux as possible. I painted it with self etching primer and then undercoated it as original.
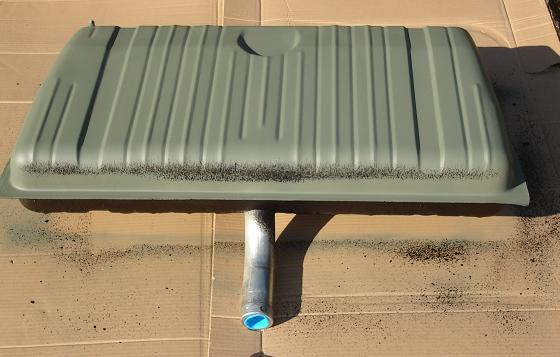
In the picture above I had sprayed the top of the tank with undercoating (Mar-Hyde 4111) but ran out so I picked up some Duplicolor rubberized undercoating to finish the job. I DO NOT recommend Duplicor undercoating. Not only was it brown (advertised as black) and was said to dry in 10 minutes (never dried after 3 days in the sun) but I had to scrape it all off - repaint and start over.

And
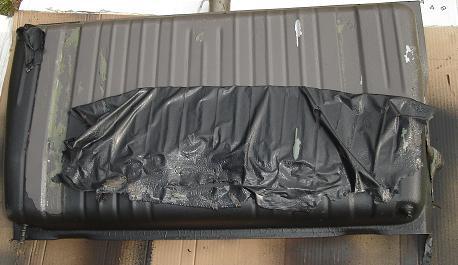
..as my luck goes..... I also DO NOT recommend Duplicolor rubberized truck bed coating. It dried as advertised but had a bubble in the corner the next day. Thought I would peel off the corner and patch it but it ALL just peeled right off.
I finally used a 3M Asphalt based undercoating similar to the Mar-Hyde to finish the job. Not as thick as the Mar-Hyde but acceptable. Now on to the fun part......
CAUTION : Gasoline is extremely flammableat the very least have one fire extinguisher handy when replacing the tank!!!
Wet the floor of your shop, use static straps or any other method to minimize the chance of a spark while draining the tank.
Disconnect the battery!!....
Jack the car up and support with jack stands. I found I only needed one on the drivers side which kept the passenger side a little lower allowing the fuel to flow toward the drain.
Drain the tank. I'll let you decide what method is best but I used a siphon hose to drain as much fuel as possible into approved plastic gas cans then opened the drain and let the last ½ pint or so of fuel that the siphon could not remove empty into a container.
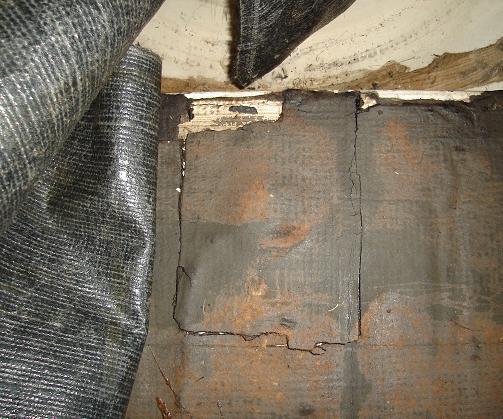
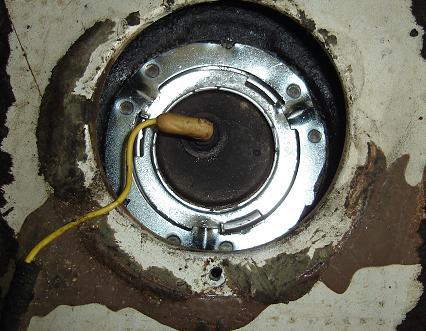
Remove the spare tire and fold back the trunk mat to gain access to the sending unit on top of the tank (my mat looks black because my Dad installed carpet in the trunk almost 40 years ago). This access panel is in front of the spare tire well. You may need to cut out a small section of the original sound deadening mat if it is still there. Mine was stuck to the trunk floor. You should be able to see an outline of the access panel and sending unit wire to cut around it careful cutting near that wire!
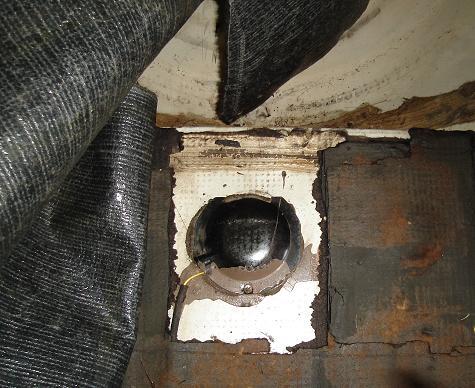
The access cover is held in by one Phillips head screw in the back and a tab on the end closest to the spare tire well.
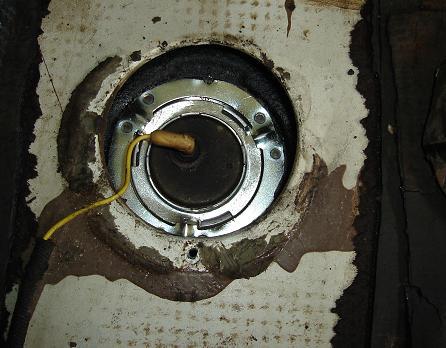
Remove the sending unit wire by pulling straight up. It's just plugged in over a threaded post sticking out of the sending unit.
(Remember my luck?
this tank looks new because it is only 5 years old. It developed a leak at the outlet and I decided to replace the tank again rather than have it fixed. There was only about a $50 difference in price)

You can either remove the sending unit now or wait until you have the tank out of the car. I decided to remove it now just to save the unit from all the jostling about while I was taking the tank out. There are 3 little tabs on the locking ring that you tap in a counter-clockwise rotation to release the sending unit lock ring (screwdriver and hammer works). BE SURE when re-installing to align the tab on the sending unit to the notch in the tank.
Now is a good time to check or replace the sending unit float. Mine still had the original brass float and didn't have any leaks. They are somewhat fragile so handle with care. The sending unit can be replaced while the tank is in the car so if you are not having any problems with the sending unit you may want to just put the original one back in and see how long it will last.
Remove the fuel line on the drivers side of the tank you will have some remaining fuel in the line here so be careful.........Gasoline and eyeballs don't mix very well.
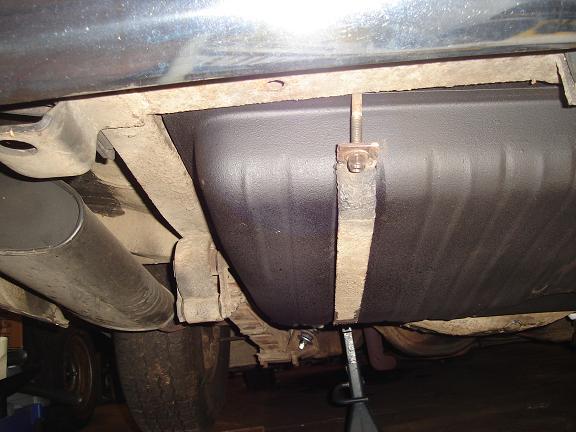
There are 2 bolts holding the gas tank straps at the back of the car near the bumper. Once you remove the bolts the tank should slide down the straps away from the rear of the car. The end of the tank with the filler tube will be stuck where it passes through the opening in the body. I moved the straps to the side and pushed the tank back and down until the filler tube popped out. I did find it a little easier for the filler tube to slide out of the rubber O-ring when I coated it with some oil. In retrospect it may have been a little easier to support the tank and remove the straps then let the tank drop in the back and pull out but either way should work.
At this point you are ready to install the new tank. Again it's a personal preference as to whether you install your sending unit now or when the tank is in the car. I installed mine later with the tank in the car. Probably would have been a little easier to get the locking ring tightened with it out of the car. On the other hand if you hit that threaded post on the sending unit and break it off while re-installing the tank - folks might think Yosemite Sam has been locked up in your shop (yoooo-rassin-frassin-rootin-tootin- bat-flattin-portin-filabunkabertin-perkalooma-burtin-dirtin-no good long eared varmit).
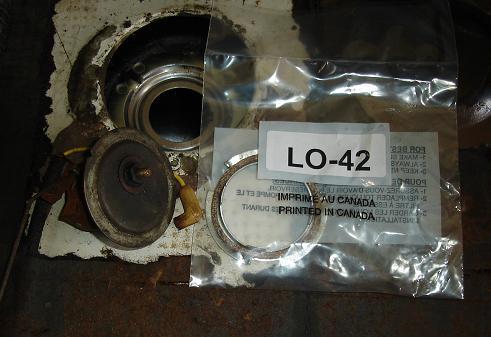
My tank (MQ Products Canada via Rock Auto) came with a new lock ring and cork seal. I used gasket sealer on my seal just to be sure.
Remember to check the locating tab on the sending unit and notch on the tank when re-installing the sending unit.

Slip the float in the opening and center the unit. Install the lock ring and tighten it all the way by tapping each tab clockwise. By going around to each tab you'll see how it keeps the lock ring and sending unit centered. You can see there is enough room to install the unit with the tank in the car.
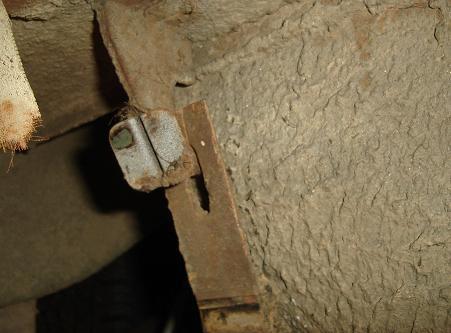
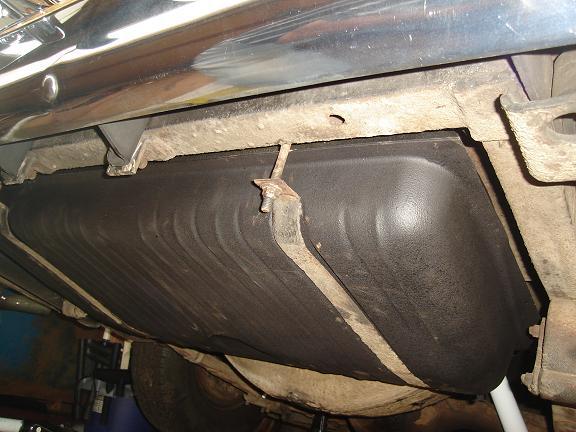
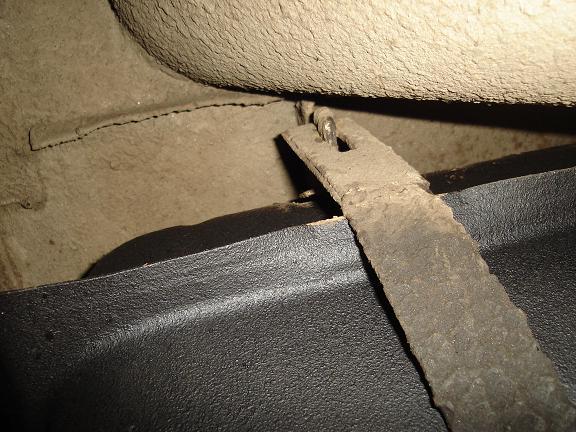
My procedure to install the tank was basically reverse of removal. I hung my straps on the tabs near the spare tire well under the car. You'll need to check these straps they can slip off and seem to be hooked but are not (would lead to a bad day). Appears to be a piece of tape holding a cloth strip to the body to prevent vibration. These are the originals on my car and I decided to leave it as is. If they are missing or damaged you might want to replace with a strip of rubber.
Close-up of the strap hook tabs.
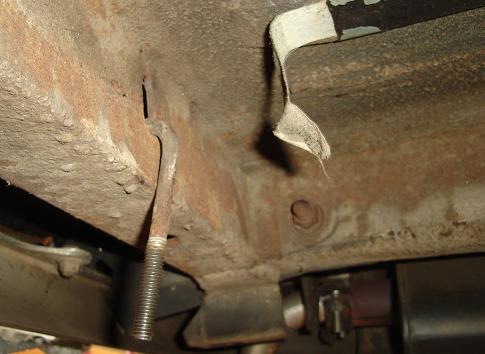
I installed the hook bolts near the bumper at this point to have them hanging in place. It can be done when the tank is up but there is not much room and you can't see the holes when the tank is up there.
Next I installed the tank by first putting the filler tube through the hole in the body. Don't worry about the rubber ring yet the large opening in the body will give you a bit of wiggling room. I then lifted the rear of the tank up and installed the drivers side strap. Again be sure the strap stays on the hook tabs mine slipped off a couple of times.
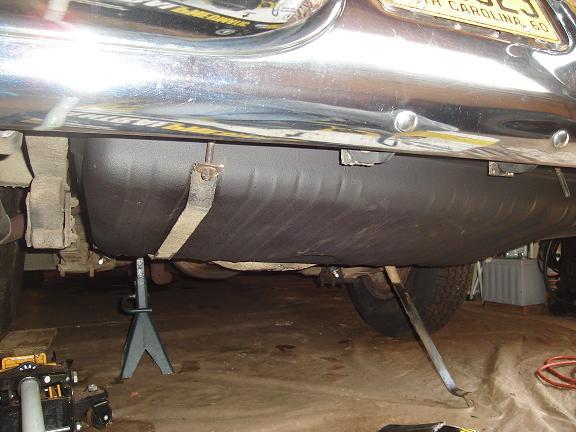
I then installed the passenger side strap. Don't tighten the nuts yet. Install the rubber O-ring on the filler tube and make sure the straps are centered in the indentions on the tank. Wiggle it around and get it all in place then tighten them down.
Double check that the straps stayed on the strap hook tabs near the spare tire well.
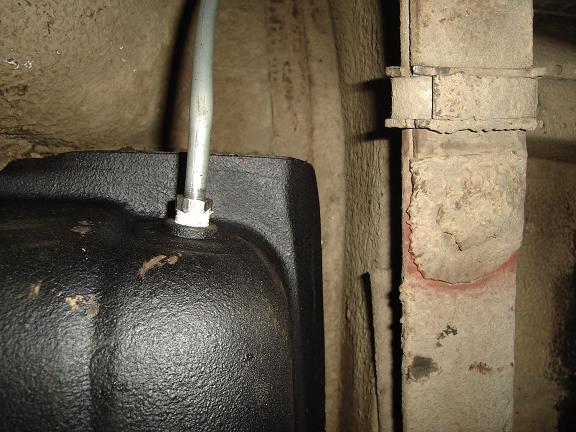
Install the fuel line. The line is not quite at a 90deg angle to the tank so use caution not to cross thread.
If you didn't install your sending unit earlier with the tank out of the car then install it now using the previous info. Don't forget to re-connect the wire to the sending unit. Make sure the drain plug is tight and add fuel to check for leaks then drive it without worrying whether the coating is coming loose or if the screen is clogged with rust etc.
FYI....
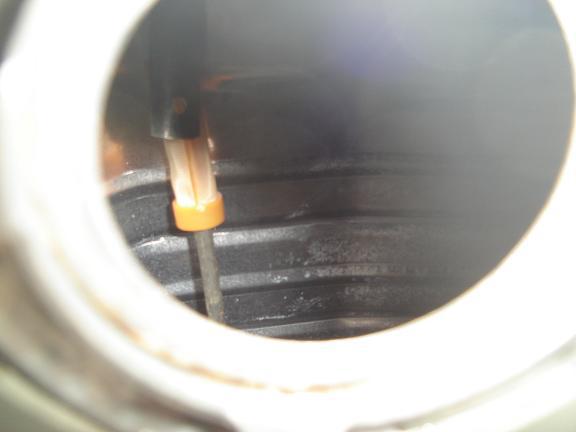
Here is the plastic filter screen inside the new tanks. I believe the originals were of the same design but metal. This is a good reason (IMHO) not to have the tank coated since the coating could cover the screen. I had my original boiled out and coated trying to keep it but finally purchased a new tank after 2 more tow bills.
Good luck and hope your tank replacement goes well.
Created: 2 May, 2015
Last Edited: 2 May, 2015
Email: webmaster@squarebirds.org
Return to Squarebirds Home.