1958-'60 SQUAREBIRD W/OEM FIREWALL BOOSTER,
RETROFIT TO A MODERN 8" DUAL DIAPHRAGM BOOSTER
Randy Harsha took all these pictures as part of his Power Disk Brake Retrofit. This is the, FIREWALL PORTION.
Randy cares about helping future Squarebird owners who want power disk brakes so he kindly offered these pictures as a 'how to' instruction. Our Squarebirds.org family cannot thank Randy enough. Taking pictures 'as you go' makes the job take twice as long but it sure helps others see how easy this task really is.
CLICK HERE for, Power Disk Brake Discussion (or scroll to the bottom)
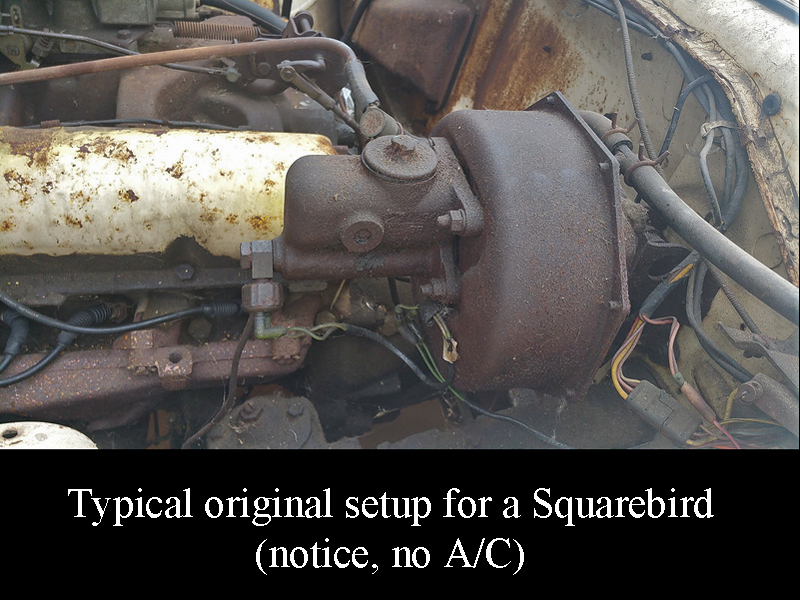 1 1If you have A/C this retrofit WILL work as well. |
 2
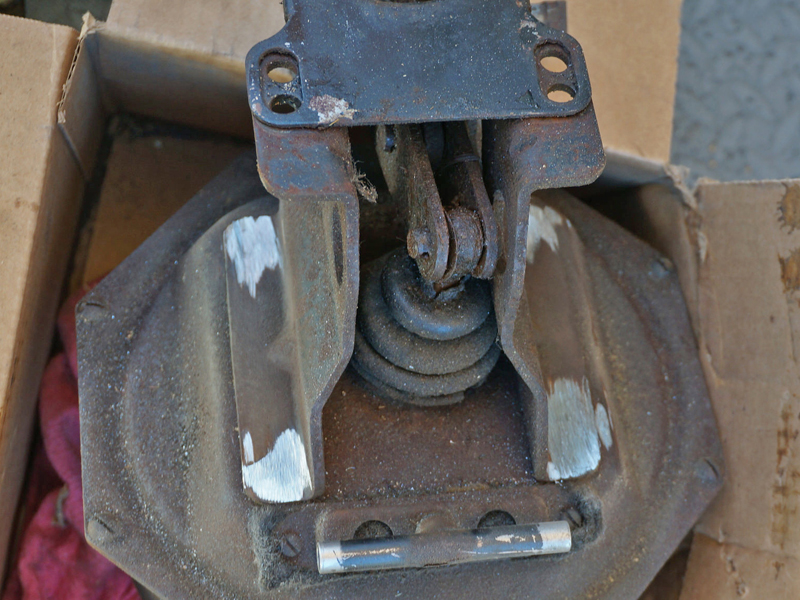
2Remove the cotter pins from the firewall bracket and slide the pins out. Four bolts hold the bracket assembly to the firewall, then the booster will be free to work on your bench. I usually drill rivets out first, then grind. There are only four rivets. Separate the bracket from the booster. |
 3
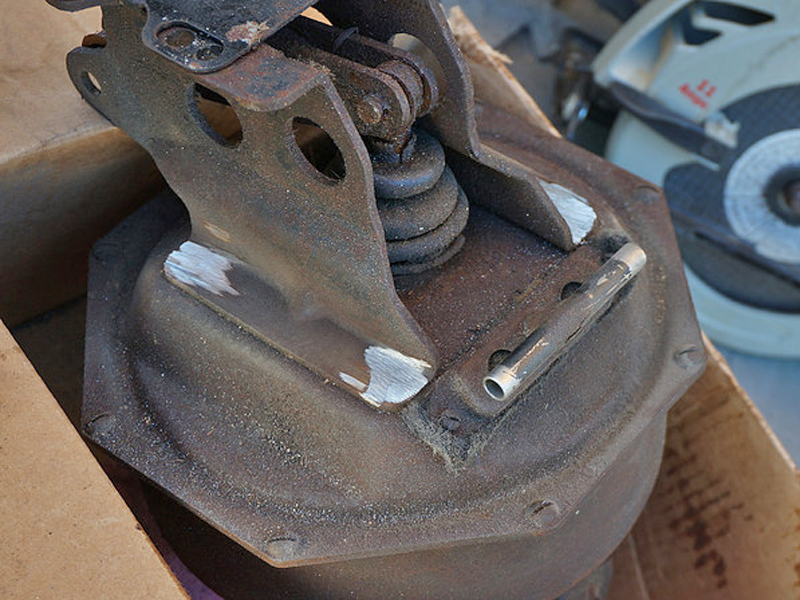
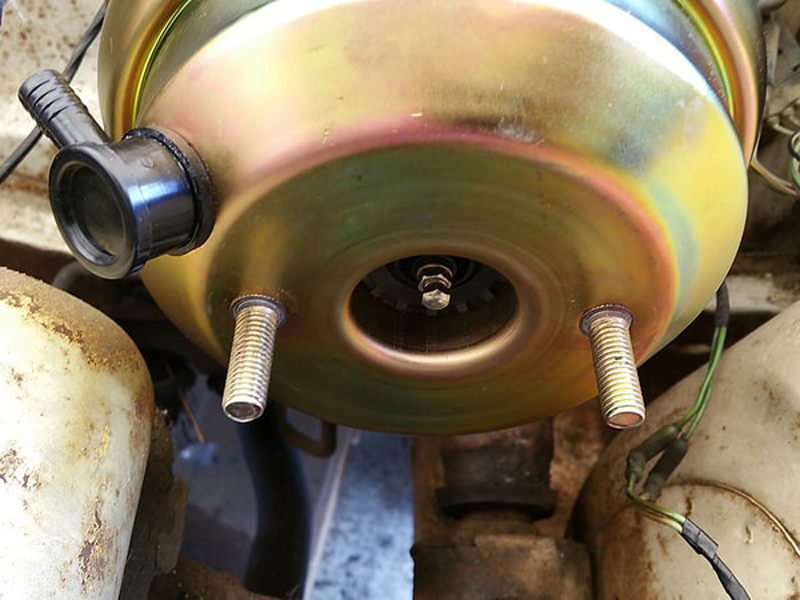
3At this point, it's a good idea to measure the hole centers. If you forget, the booster will have rivet remains for you to measure. |
 4
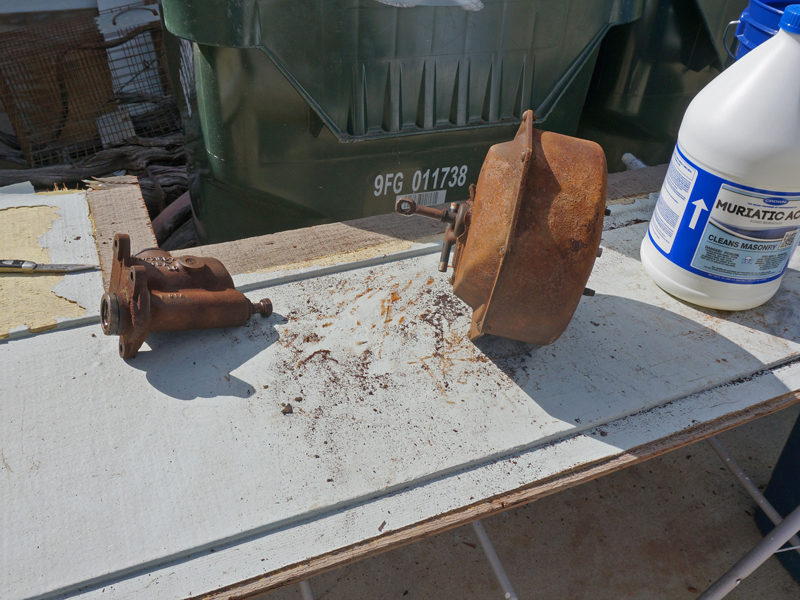
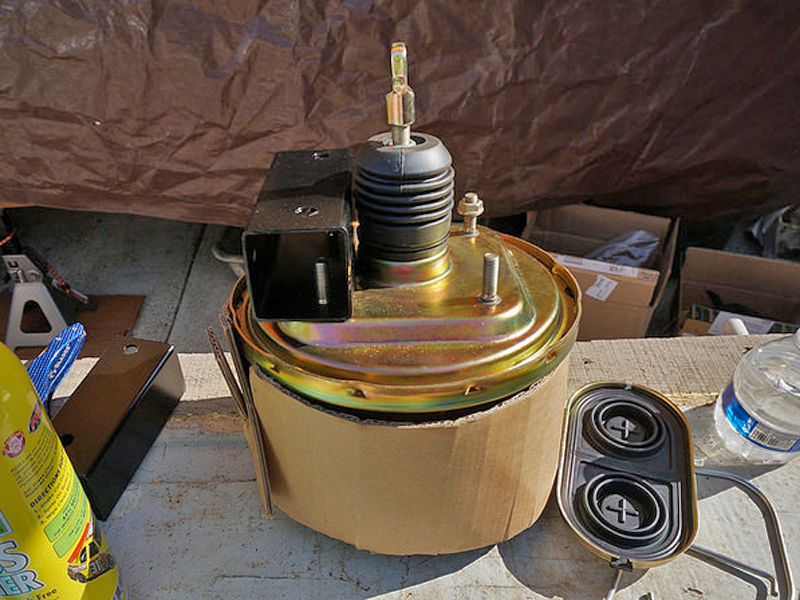
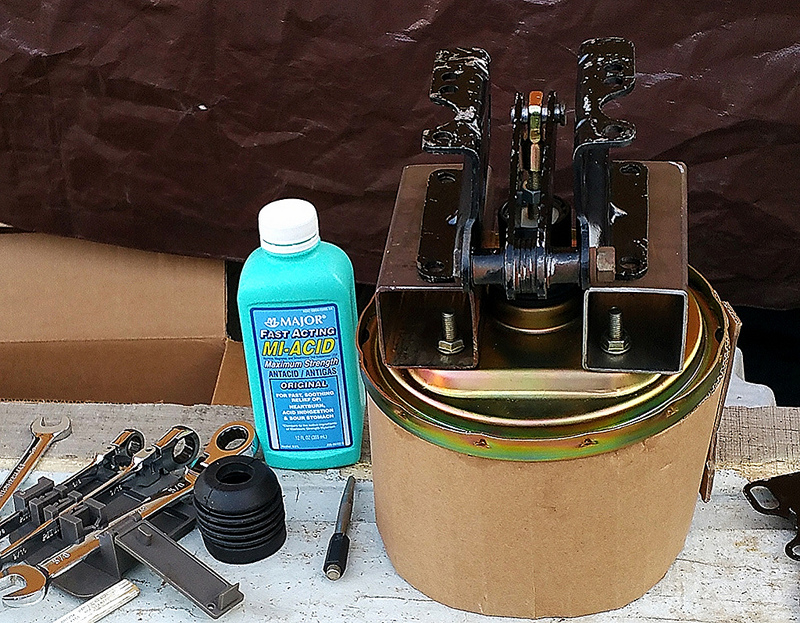
4Booster, master, and firewall bracket parts are separated. Much of this job requires a good rust stripper. Hydrochloric (Muriatic) acid (from the Garden Section of Home Depot or Lowe's) works fast. Use it outdoors with a water hose close by. Eye and hand protection are a 'must have' before starting. This acid will etch glass so be careful. This and most acids are water soluble and environmentally friendly when diluted with plenty of water. |
 5
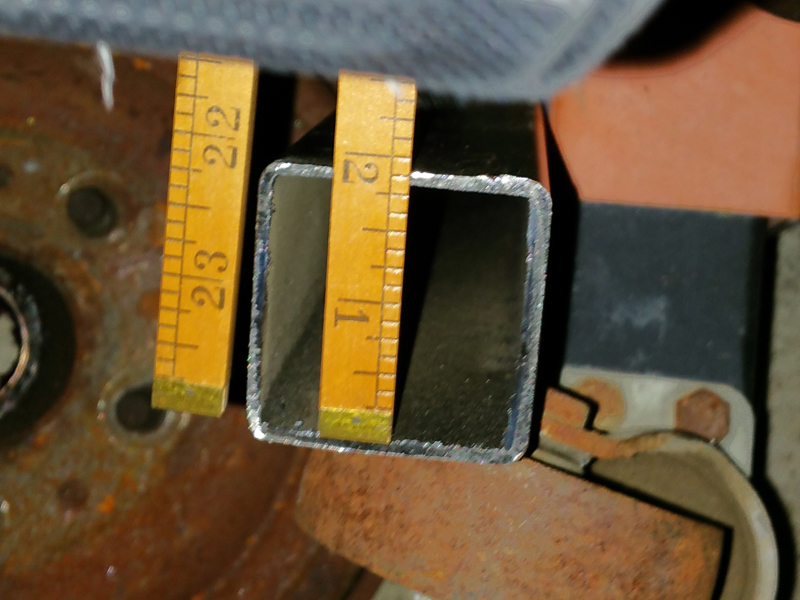
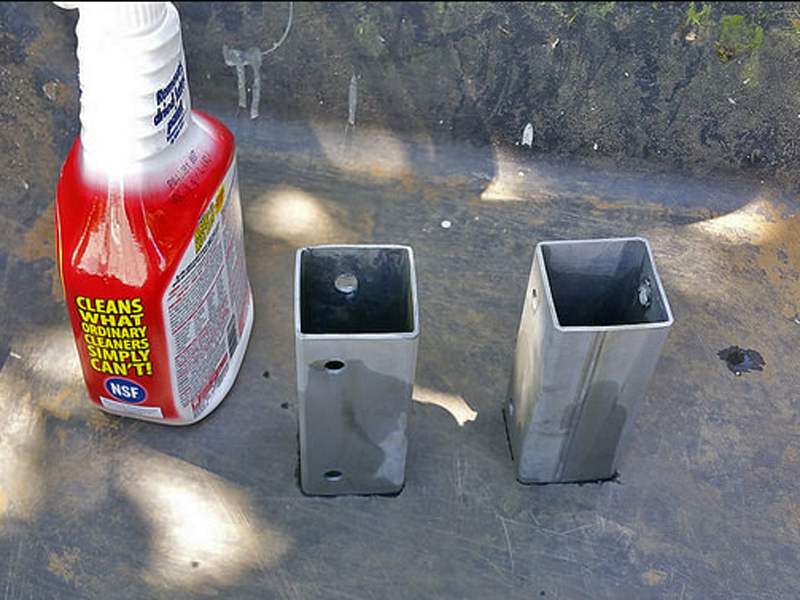
5These are the two by two steel channel Randy purchased. Total finished length is five inches. So, one ten inch 'stick' could do the whole job. (2" X 2" X 1/8" X 5", two required.) Randy picked these up at the local bone yard. |
 6
61/8" wall is ok if wide washers are used inside the channel. Depressing the brake pedal will try to pull the channel apart (instead of pushing it together). Steel is strongest in it's tensile strength. For additional strength, Randy isn't cutting the length of his channel into a 'C'. He is leaving it square. |
 7
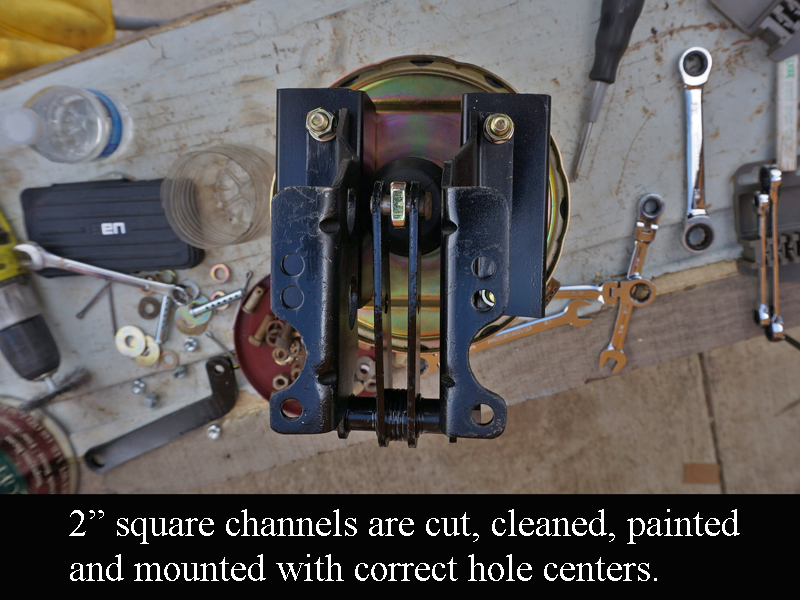
7This is the first step in laying out the holes. He 'hugs' the center of the booster with one channel, then marks and drills the booster holes. Repeat for the other channel. The front side gets the booster studs while the back side mounts to the firewall bracket. |
 8
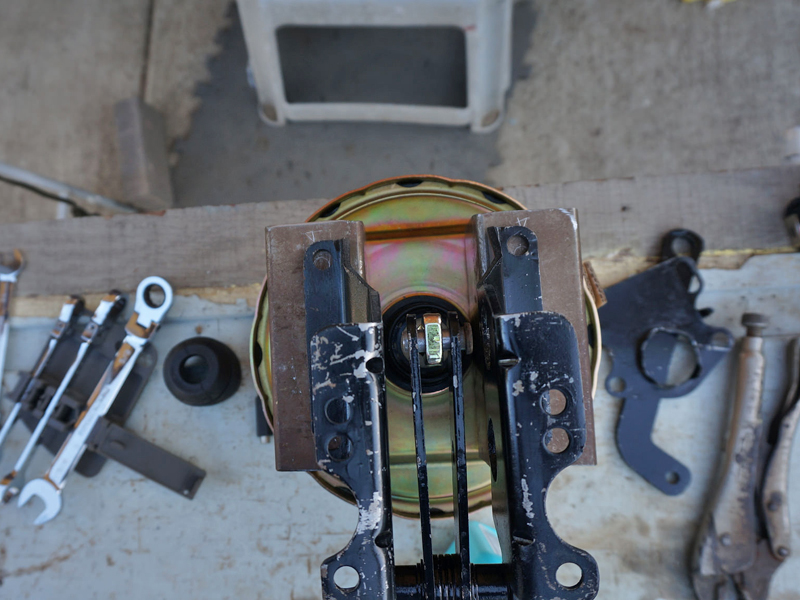
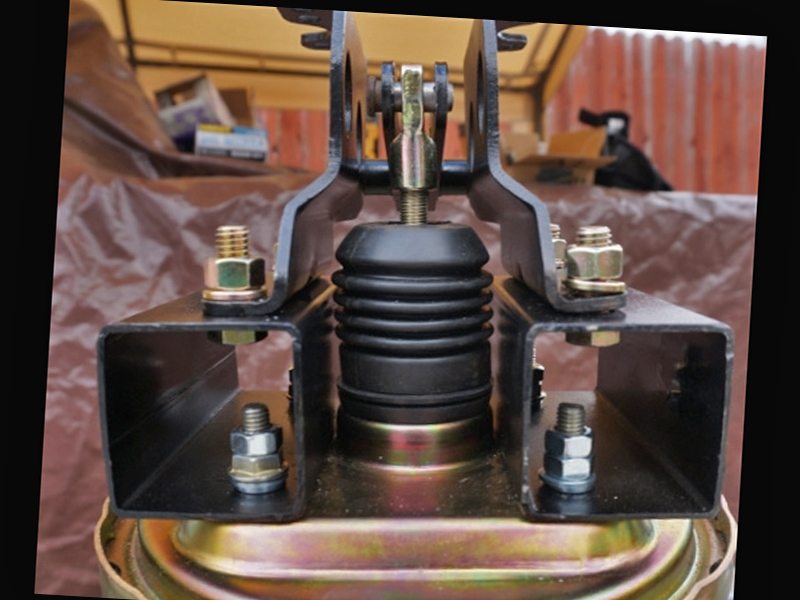
8After mounting the channels to the booster studs, assemble the firewall bracket and connect the clevis to the center link using the pin as shown above. Slide the bracket up and down to find the center. When the booster shaft is in the middle, mark and drill the channel holes. |
 9
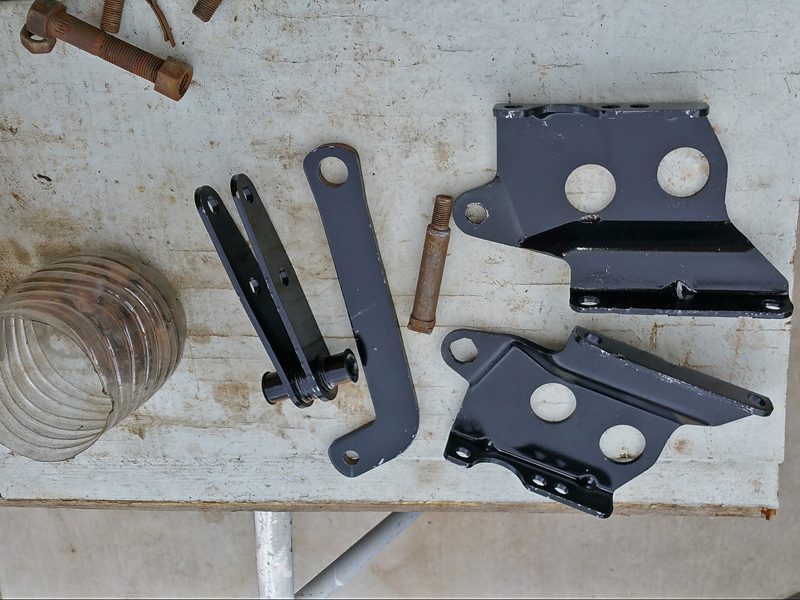
9These are the main sheet metal parts from the OEM firewall bracket, stripped and painted. Keep track of these parts for re-use. |
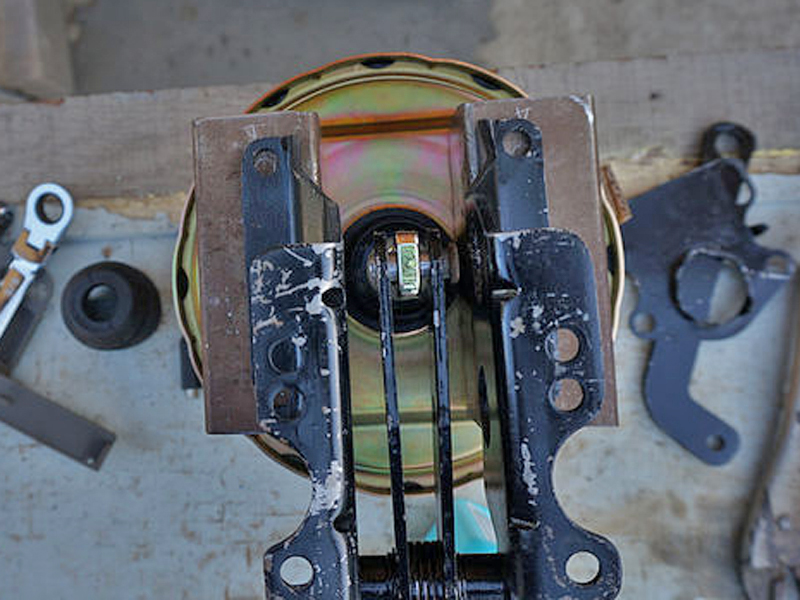
 10 10The 2" X 2" X 5" channel is centered on the booster. It has enough room inside to mount bolts, washers, and nuts. It also has room inside to turn a wrench. It helps not to make the channels longer than necessary. |
 11 11If your hair is already pulled out, stomach troubles usually follows. Randy comes prepared! Notice the cardboard 'hat box stand' Randy made to temporarily hold the booster upright. |
 12 12These pieces were laid out, stripped and prepared for paint. They sure do look rust-free and clean. The spray is 'Krud Kutter Paint Prep'. |
 13 13 |
 14 14This is a preliminary fit, without flat washers. |
 15 15 |
 16 16 |
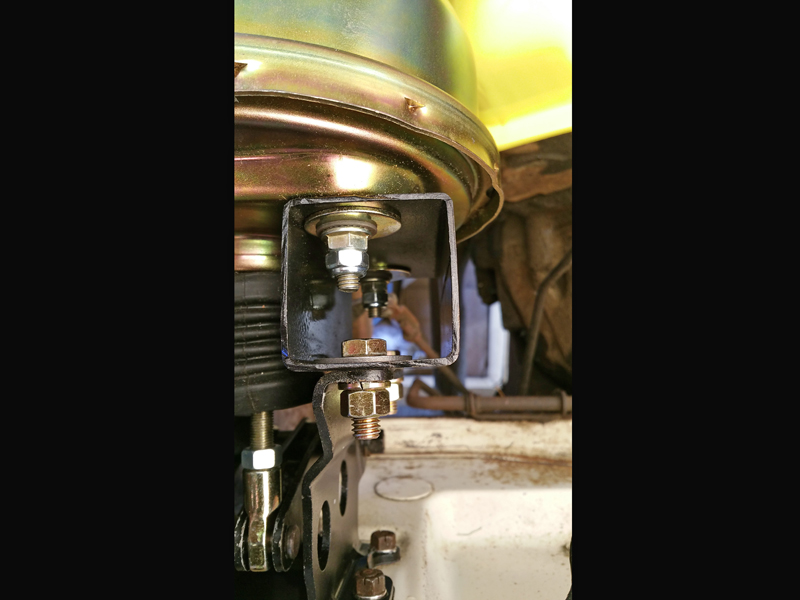 17 17THIS is Randy's final piece. Notice the flat washers inside the channel. They are important when using thinner walled square channel. |
 18 181-1/2 X 1-1/2" channel may be used. The two-inch square makes life a little easier for fat fingers like mine and wrenches. |
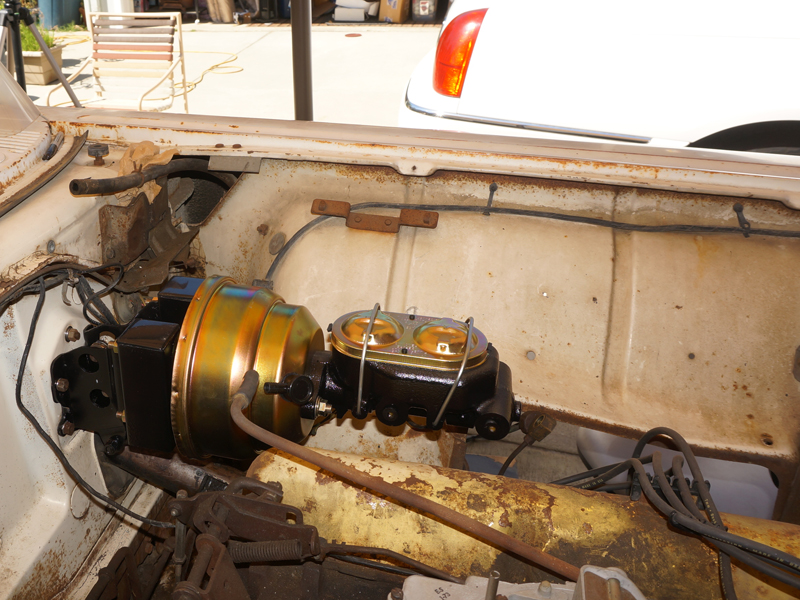
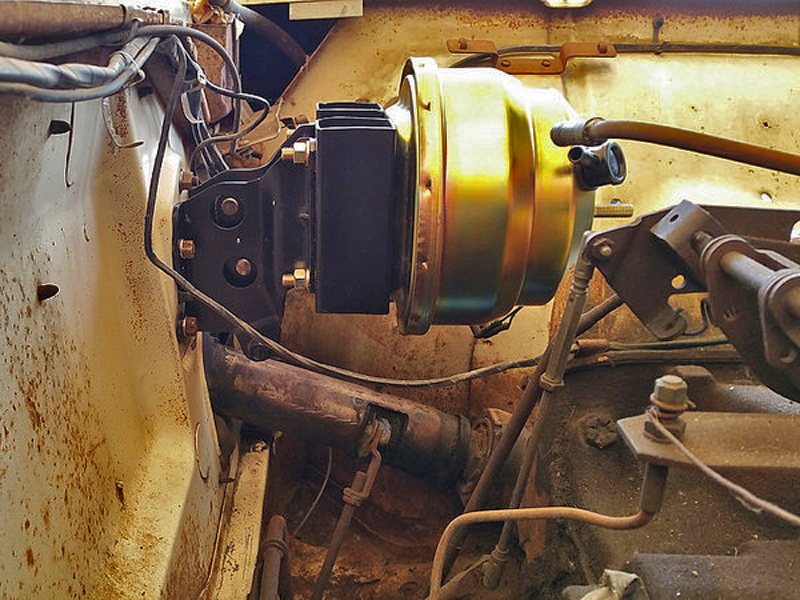 19 19It really turned out nicely. Notice how far from the shift lever the booster sits. All hardware from the firewall bracket to the brake pedal is STOCK. |
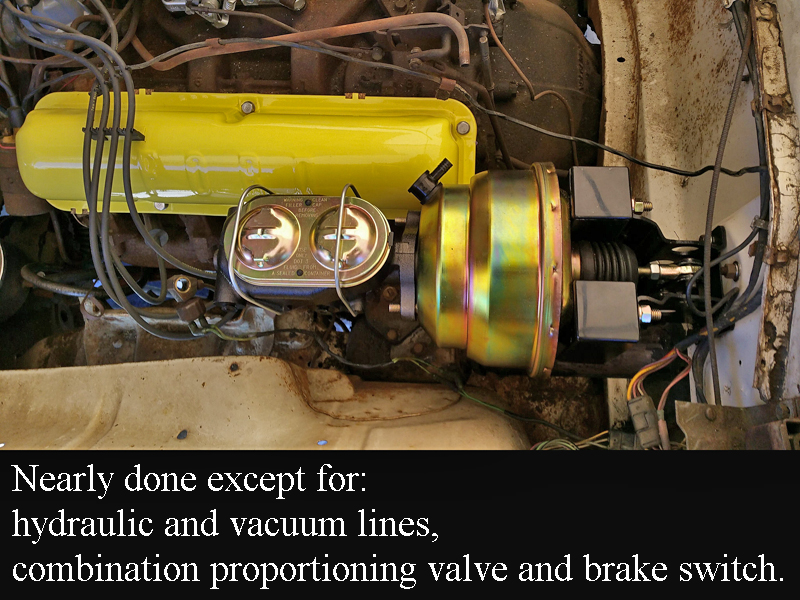
 20 20There is plenty of room, away from the engine's valve cover. Notice the center jack screw with jam nut. This is for adjusting the master cylinder. |
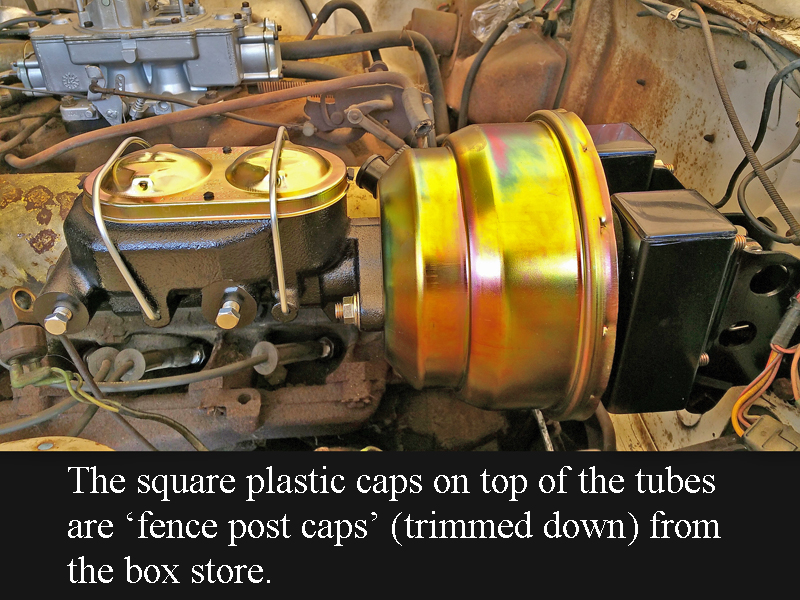
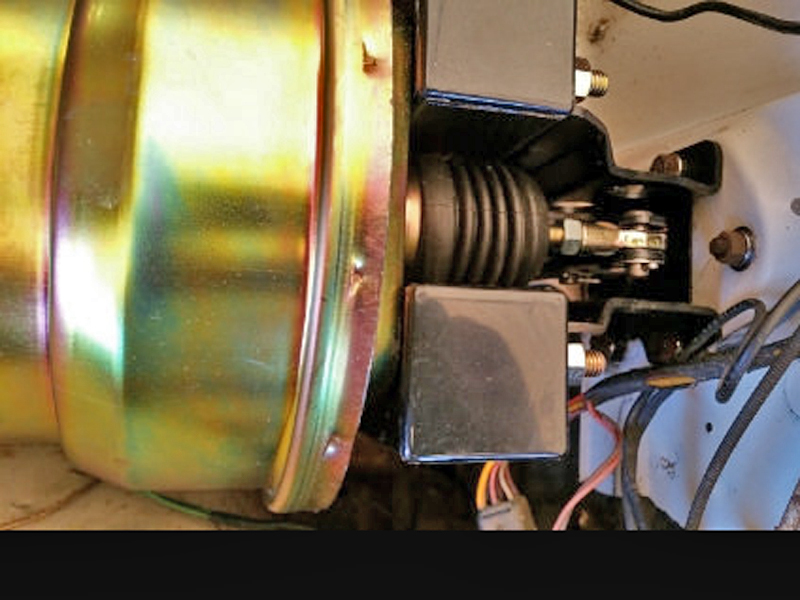 21 21Randy found two plastic 'fence post caps' at his local box store, then he pared them to fit the tops of his square channel. |
 22 22 |
 23 23 |
 24 24And plenty of room on top, far from the hood. |
 25 25 |
| DISCUSSION:
Using the original firewall bracket has several advantages: * The parts are re-used OEM Ford, from the brake pedal to the booster, * The booster and firewall angles are correct so the master cylinder sits level, not pointed up or down, * New 8" dual diaphragm boosters are no larger than the OEM booster but they output far more pressure, * OEM air-conditioning or not, this setup fits 352 (FE) or 430 (Bulldozer) engines beautifully, * This is a real money saver for anyone who has skills and tools to grind and drill. * No welding is required. All parts are bolt-on, * The job can be unbolted in case a future owner wants to revert to useless OEM drum brakes that don't work for crap. * The end results look very professional. All the parts can be painted or chrome plated. |