Even the 75 series tires are a bit shorter than the original bias plys. The 225 70s are almost an inch shorter than the 225 75s. Here's how the tire sizes shake out:
800-14 - 27.58" tall - 8.10" wide
215/70R14 - 25.85" tall - 8.46" wide
215/75R14 - 26.70" tall - 8.46" wide
850-14 - 28.10" tall - 8.35" wide
225/70R14 - 26.40" tall - 8.86" wide
225/75R14 - 27.29" tall - 8.86" wide
As you see, modern tires are wider and shorter than the originals. There is no modern match, the 75 series radials are as close as you can get.
Coker and Diamond Back sell 215/75R14 and 225/75R14 tires, but they aren't cheap. If you go with the Coopers, get the 225s. They'll work OK, but your speedo will read a bit high (3-4 MPH at 65) and they won't quite fill the wheel wells, but should drive OK.
-
Check the wires on your Key Switch, and make sure they are tight. If they are, I see a new Key Switch in your future.
The switch comes with no lock cylinder, so you can transfer the one you have to a new key switch. - DaveLeave a comment:
-
I installed my RediRad to the radio this morning. We tried it out using the old speaker (new one is backordered) and it sounds great. Well, for only having one speaker. The first song my daughter played off of her iPhone was from Elvis, naturally.
The ACC is very touchy and I had to get the key just right to get power to the radio. Would that be a tumbler problem?Leave a comment:
-
-
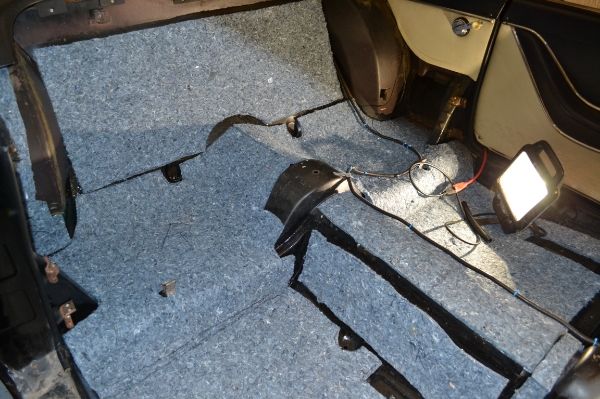
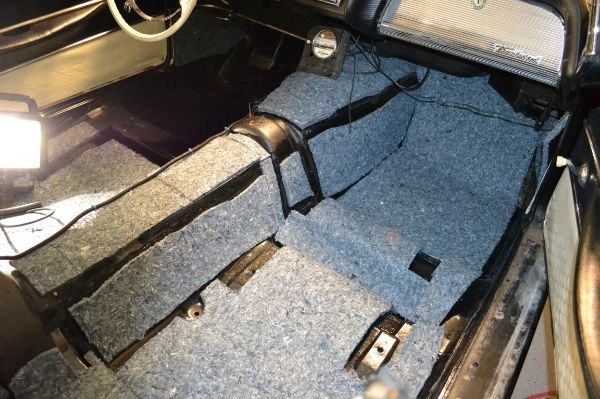
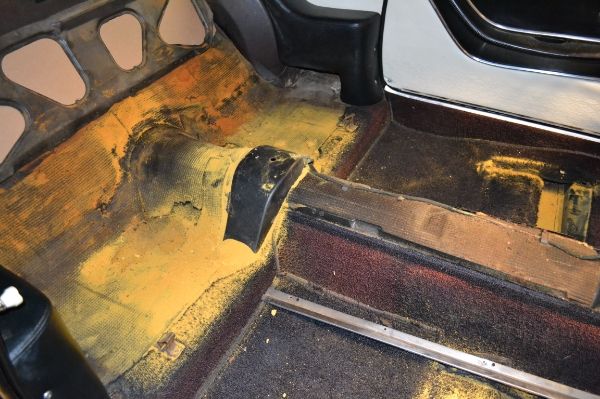
I am concerned about water that gets trapped under padding. It's a recipe for disaster unless the floor can breathe.
You're going to think I'm nuts but I went to my favorite box store and bought artificial grass carpet. It's plastic, makes a great insulator and it holds no water. I laid the carpet over it and I was done. There's no need to glue it.
This stuff is hyper allergenic, won't mold and it breathes easily.
I learned from living in Michigan with a Mustang convertible. We never know when it's going to rain, even on a very nice day. All it takes is a short trip to the store with the top down. Yes, it happened to me. There I was in the checkout line when all of a sudden it came down in buckets. I ran out as fast as humanly possible but it didn't matter. The floor had a half inch of water and I spent the next two days drying with towels and fans, trying to prevent mold.
All that padding under the carpet did a great job of holding water like a sponge. The tar-like sheets on the steel floor kept water trapped for prolonged periods to promote rust. For our daily drivers, winter brings plenty of snow and ice. Rubber mats are good to hold melted snow on top but underneath, the carpet always gets wet.
So, the floor needs to breath through the carpet so it can evaporate and dry. Your headliner is the same story. Ever wonder why all those pin holes in a vinyl headliner? Without them your roof will rust from the inside because water condenses when warm moist air hits cold metal. The roof literally sweats inside. Also, my mufflers have drain holes for condensation. (Warm air on cold metal.) - DaveLeave a comment:
-
Here's the 4'x24' padding:

Sign up for JC Whitney emails and get some pretty good discounts like 15-20% off with no minimum, plus the free shipping.
Leave a comment:
-
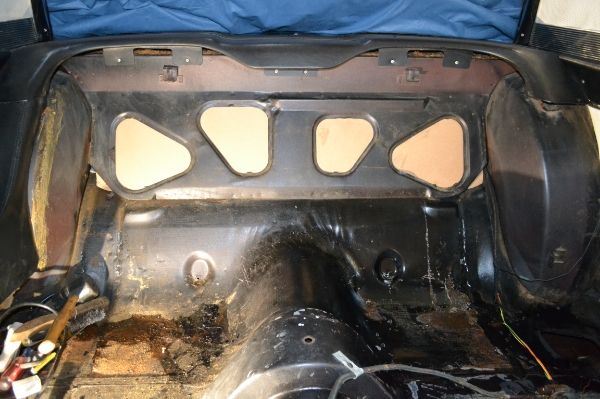
A couple of pics of the insulation install. I ordered new seat covers and foam and hopefully get them by next weekend. The carpeting is fitting perfectly, which I'll fasten in once the seats are back in and bolted down. I also ordered the double speaker to replace the original speaker.
I'm ready for tires. A friend is running these Coopers on his Regal, 215/70/14's. They also come in 225/70's. Will 70's be too short? They don't have 75's of any size.
Your thoughts?Leave a comment:
-
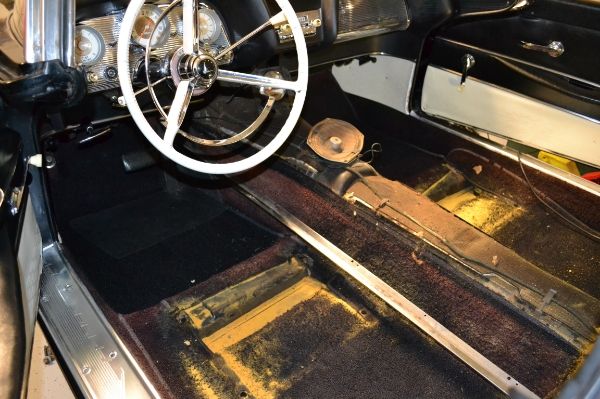
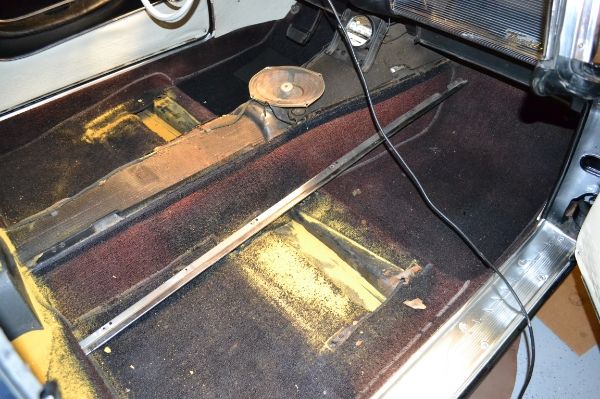
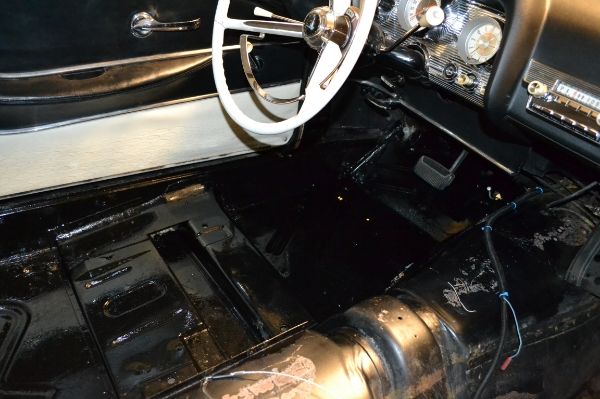
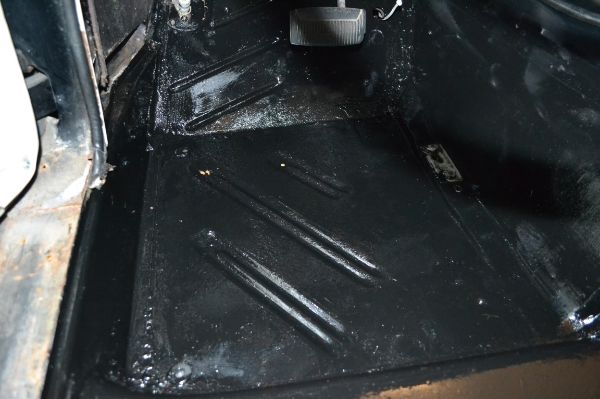
Working on the interior now. Pulled out the black/purple carpet, degreased and prepped the flooring to put more KBS coating on the rust. Driver side was more rusty with a minor hole which will be filled. Once the driver side coating is dried thoroughly I'll start cleaning the passenger side to do the same. That should finish up my can of KBS RustSeal.
Used KBS' RustBlast that leaves a zinc coating for better adhesion of the rust coating.
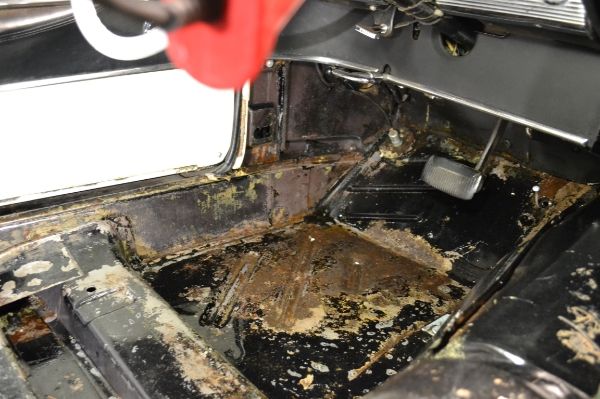
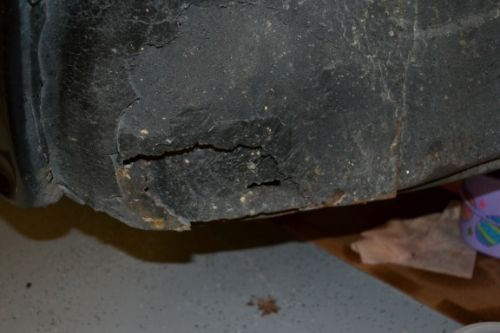
The only real rust hole in the front

RustSeal
Also re-did the wiring harness. I use the stuff that Harbor Freight sells.
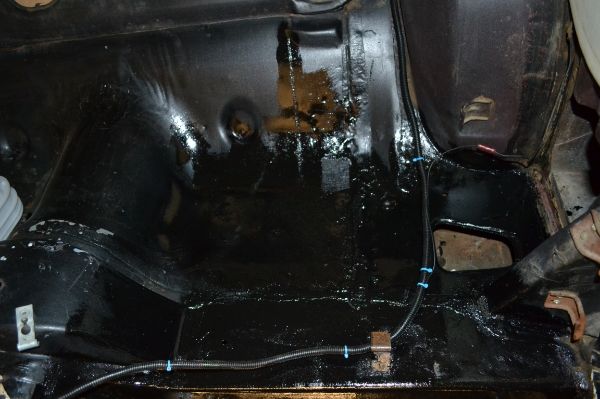
I bought a 4'x24' roll of floor padding/sound deadening material from JC Whitney for less than $60. That'll go over most of the floor and behind and under the backseat. I took the gunk-filled master cylinder off and will clean that section of the firewall for painting, and then install the new one. Once that's in I can finally start bleeding the brakes.
Then, new tires to replace the old Firestone 721's that are really shot.Leave a comment:
-
Happy New Year's Eve!
Been working on several parts of the car lately, inside and out.
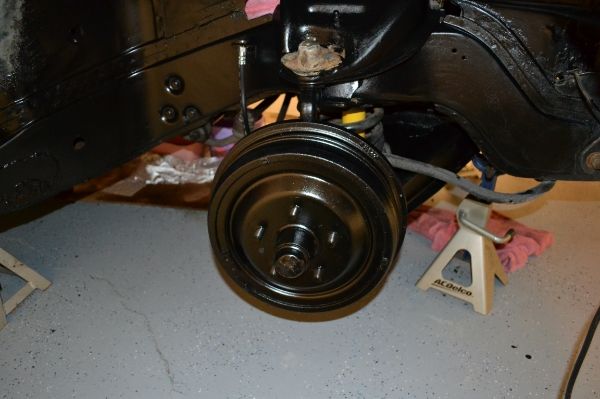
I've got the right front finished, minus splash shields, and also got the brakes installed.
Applied KBS Coating on the rusted area and used their hardening putty in the hole
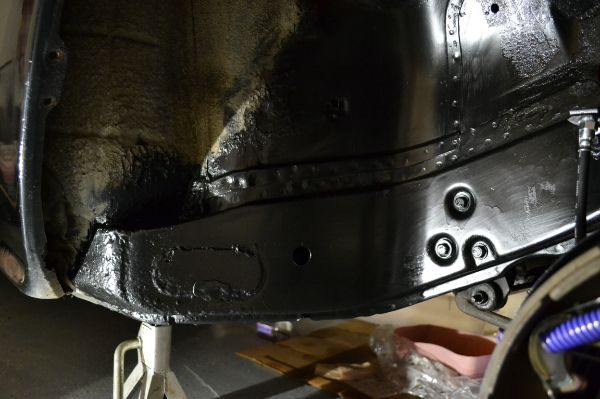
I decided to go ahead and spend several hours scraping and cleaning under the fender

New brake hardware
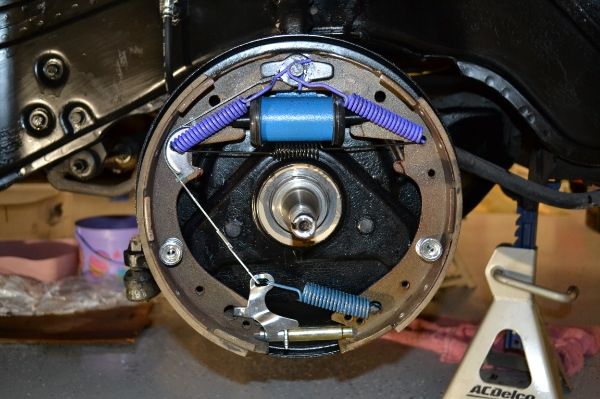
New wheel seals, new grease on bearings
I must've accidentally thrown out the self-adjuster kit for the left side and had to re-order another kit. $7 after shipping from Rock Auto.
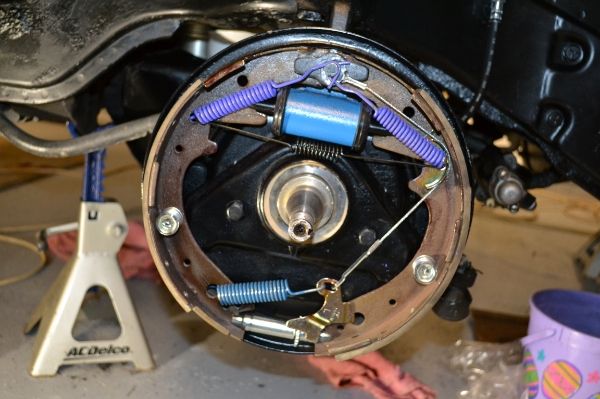
Left side buttoned up
Leave a comment:
-
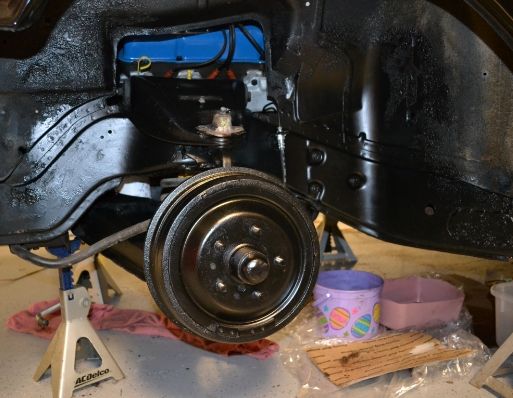
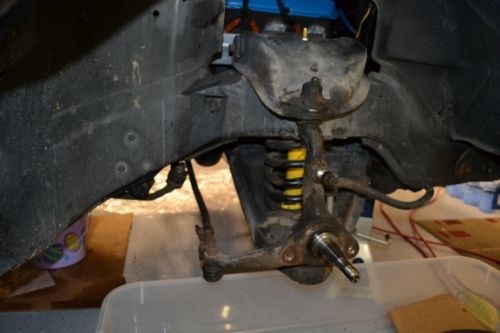
Here's the left side painted. I used a brush so I wouldn't have overspray all over the place, and it won't be seen as closely. I look at it and just keep thinking how nice it'd be to replace the springs and bushings myself (or with help).

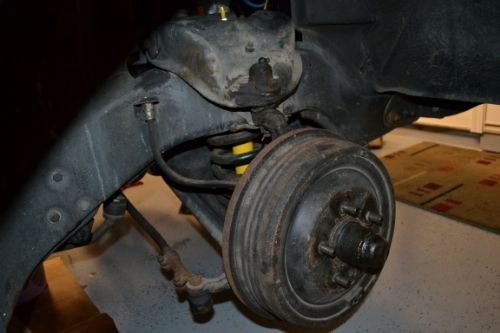
I started the right side last night. I was surprised that everything wasn't so filthy or caked like on the left. However, the rear splashguard has a rusty hole. So, after getting the bolts out I beat the crap out of it to break it loose. Meanwhile, dirt was POURING out from behind it like a dumptruck. After getting it off I started scraping the paint-covered dirt inside the fenderwell. And there is a ton of it. A pressure washer would be perfect....if the car was outside. For now I'll focus on getting the brakes on and worry about the inner fender when I do get a chance to roll it outside.
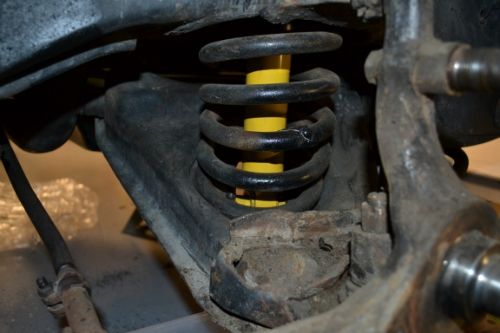
The welded coil spring. Also, no lower bumper stop
Leave a comment:
-
That's why I'm doing as much cleaning on what I can reach right now. I don't have the bigger tools, and the space around the car is real limited. I've followed how to remove the springs on here and the shop manual. I'm just not sure what will need a torch to loosen things. The car is right in front of our family room, so I don't need the stink passing through the door.
I may see if my dad would want to try and help me by taking it over to his shop. He's got tons of room and practically every tool we would need. It just depends on what projects he has going on taking up space.Leave a comment:
-
Doug is right on the money, here. You can do the work once at the lowest cost, or do it over again.
There is an alternative. Remove the "A" arms and either do the bushings in your garage or have a professional garage do the work.
The car needs to be raised on jack stands with a scissors-type jack under "A" arm. The lower arms are so long, you don't need a spring compressor. Your Shop Manual describes how to lower the "A" arm once the spindle is detached. The spring will drop right out.
As a general rule, all suspension work is not for the faint-hearted. You need big tools. Again, Doug is right about the bushings. Once you change them, the ride vastly improves, alignment is true and it's good for another fifty years.
BTW, once the parts are in your lap stripping and painting is much easier than trying to do it afterward. A 'garage' won't take the time (or charge the money) to strip and paint. - DaveLeave a comment:
-
If you're referring to having the suspension/alignment shop do the A arm bushings, they are going to have to pull apart everything you have off now to do it. If you've got room to get this far, you likely have room to finish the A arm bushings. It's not as hard as it seems. Biggest pointer is to follow the shop manual for removing the spring, a spring compressor is about useless in this situation.
If you decide to do it, check out my suspension rebuild galley here.Leave a comment:


Leave a comment: