 Tweet
Tweet
WOW -I've missed some excellent progress - nice work Henry.
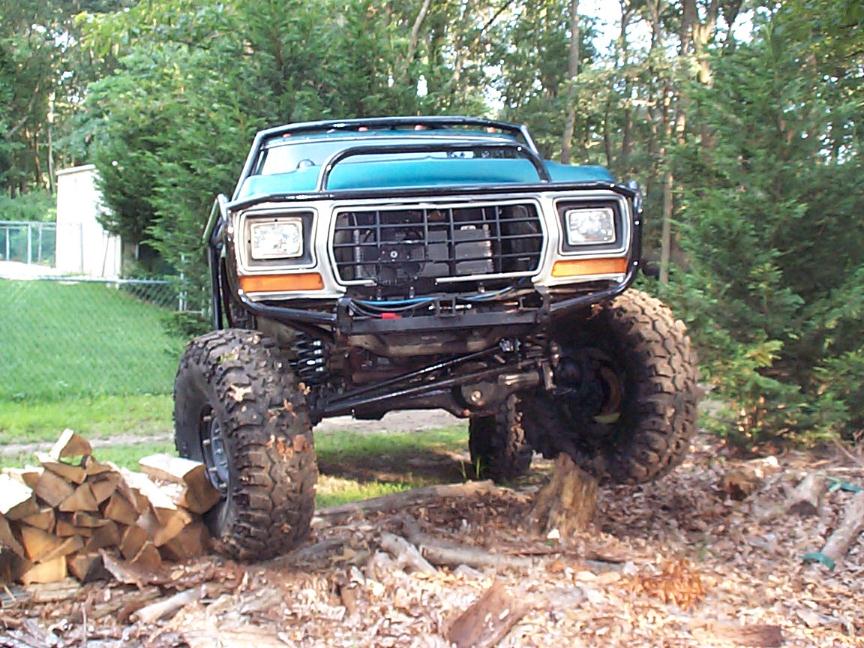
Ok - gonna have to find out who was taking pictures over my sholder last time I had my Zip-ties out.
Hey - if it works - and you don't get killed -
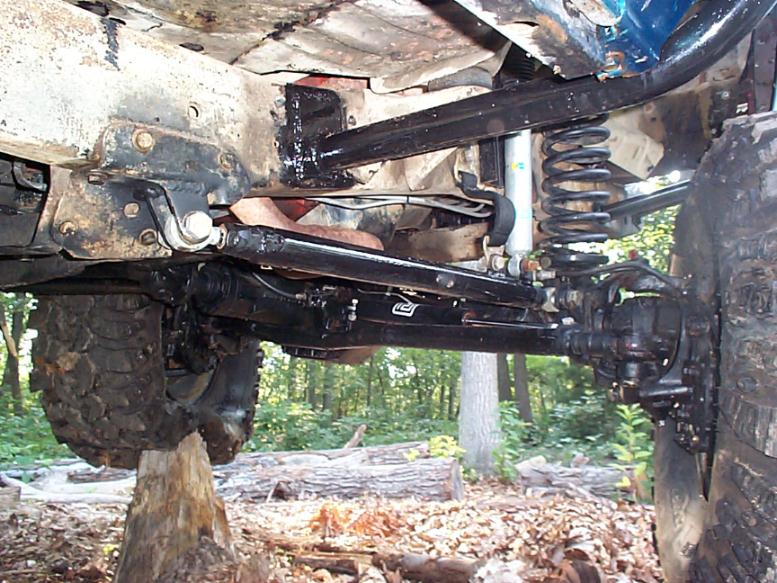
I do remember having to jack the front of the car up a lot higher than expected when doing mine - something like 33 inches off the floor to get the lower A arm down far enough to release the spring. Luckily I was able to just lower the car and with the engine in (and a little bounce) I was able to install the spindles.
Not sure now if the spindles I had were off a '77 Tbird looking at the ones you have. That's just how they were advertised and I've since sold them so we'll never know. When installed - mine had too much positive camber. In order to adjust it to zero the top bolts on the A arms would have had to be lengthened to add more spacers and then the tires would have been outside the fenders.

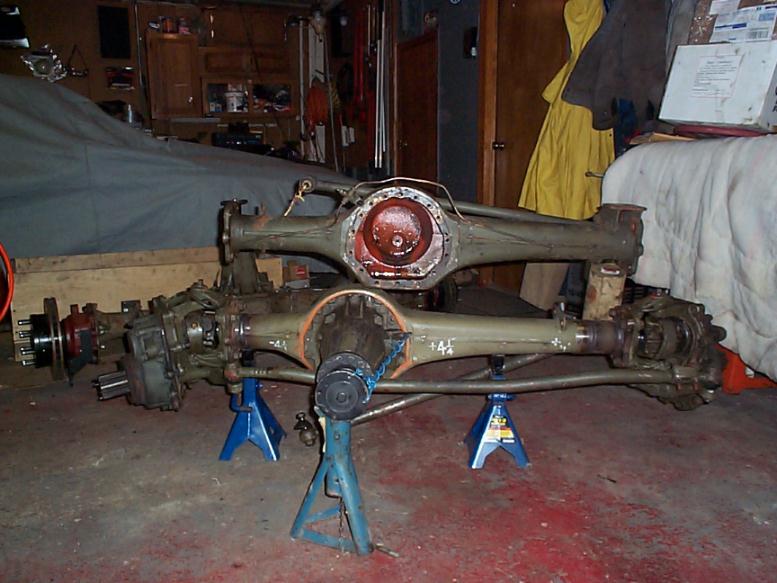
Geeez - green with envy on the alignment machine. Currently mine is set with some negative camber. Drove like a dream with the Diamond Back Radials - not so great with the new Coker Classics. Going to have to find a shop and take out some of the camber. Tires are already wearing on the inside with only about 3K miles.
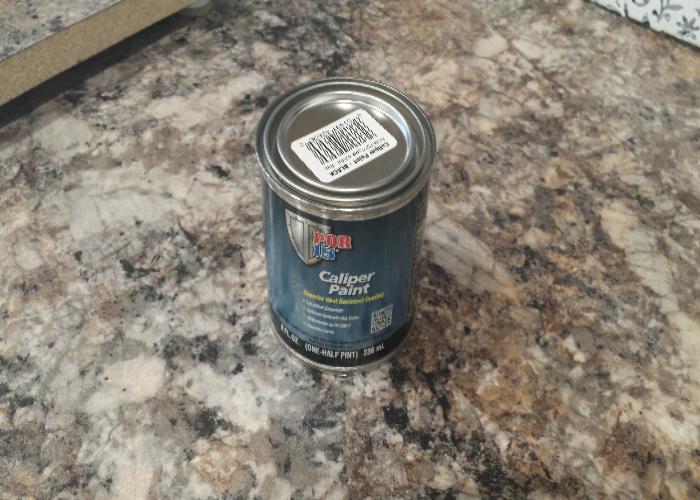
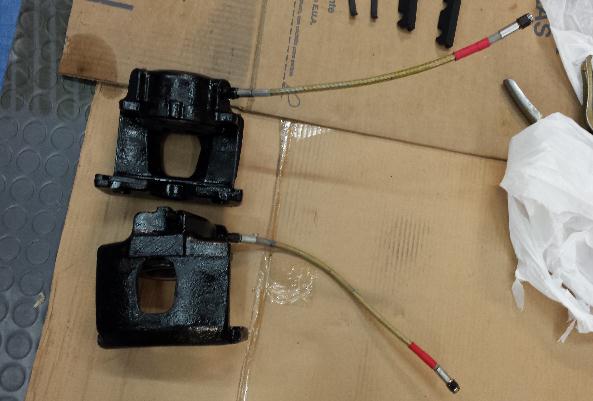
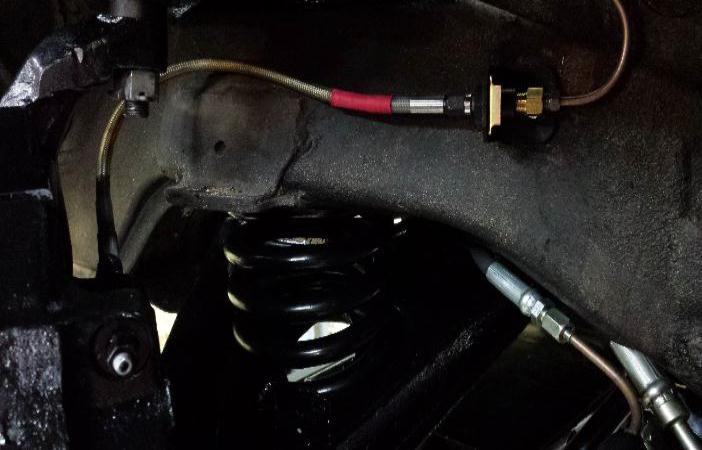
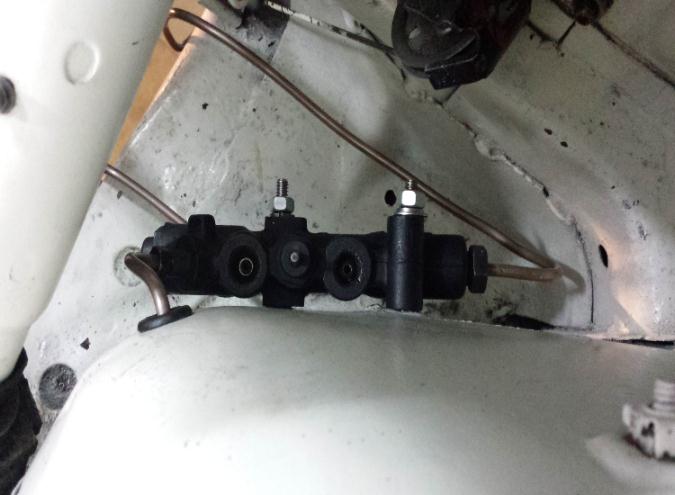
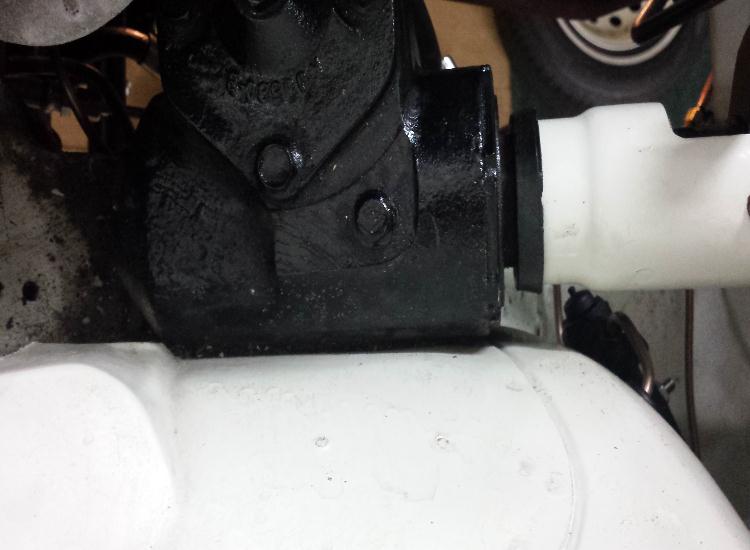
What are your plans for the flex lines to the front calipers?
I Used a GM line and a banjo bolt at the caliper.


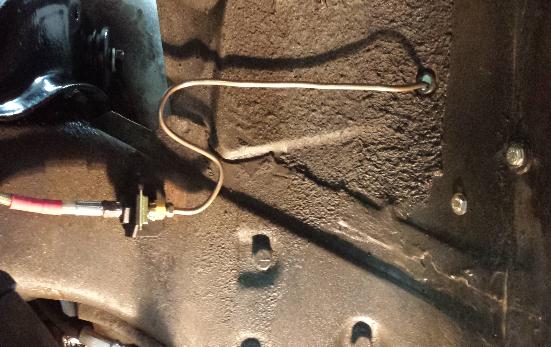
Here's a pic from the web of the Granada line that I first bought. The solid portion was very close to the upper spring perch in a sharp turn and looked like it would be sheared off - plus the line was very tight because it was short so that's why I changed to the GM line and banjo.

Thanks for all the great pics.
Reminds me of the days when I was doing my conversion - about 13 years ago
Eric
Ok - gonna have to find out who was taking pictures over my sholder last time I had my Zip-ties out.
Hey - if it works - and you don't get killed -
I do remember having to jack the front of the car up a lot higher than expected when doing mine - something like 33 inches off the floor to get the lower A arm down far enough to release the spring. Luckily I was able to just lower the car and with the engine in (and a little bounce) I was able to install the spindles.
Not sure now if the spindles I had were off a '77 Tbird looking at the ones you have. That's just how they were advertised and I've since sold them so we'll never know. When installed - mine had too much positive camber. In order to adjust it to zero the top bolts on the A arms would have had to be lengthened to add more spacers and then the tires would have been outside the fenders.
Geeez - green with envy on the alignment machine. Currently mine is set with some negative camber. Drove like a dream with the Diamond Back Radials - not so great with the new Coker Classics. Going to have to find a shop and take out some of the camber. Tires are already wearing on the inside with only about 3K miles.
What are your plans for the flex lines to the front calipers?
I Used a GM line and a banjo bolt at the caliper.
Here's a pic from the web of the Granada line that I first bought. The solid portion was very close to the upper spring perch in a sharp turn and looked like it would be sheared off - plus the line was very tight because it was short so that's why I changed to the GM line and banjo.
Thanks for all the great pics.
Reminds me of the days when I was doing my conversion - about 13 years ago
Eric


 . Great job!!!
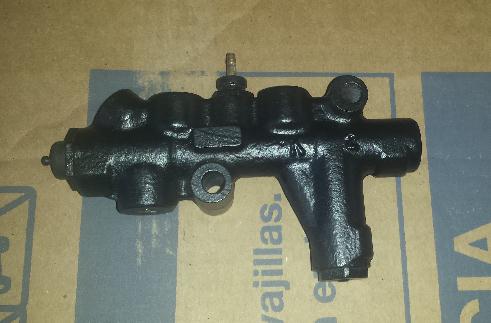

Comment