 Tweet
Tweet
I purchased a shift kit for my 64 Thunderbird. I replaced the detent plate, bearing, lever but the white plastic cone that goes on the very bottom I did not. I am now finding I still have some linkage play and assume that must be the villian. Has anyone had experience in replacing this part as it looks like a real bear getting to it. I looked in the manual and it sounded like you pretty much have to pull parts of the interior and almost take out the column. There must be an easier way? Any suggestions? Thanks Russ Little
-
-
The part that I find causes the most play is the shift tube bushing. There's a good right up and some pictures at the Thunderbird Ranch (Thanks John Draxler) http://www.tbirdranch.com/stcol.html As you read the 'alternate method' you'll find you can replace the bushing without removing the column. I've done it a few times, it's not a bad job at all. I recommend removing the rear inner fender panel to get access to the column. You cut the bushing right through the center of the 'notch' then slip it in place. Hope that helps, Bob C -
Thanks
as usual this info is always helpful . Russ LComment
-
My link took you to a different page than I wanted although it shows the picture. Here's the text section that has the alternative method. http://www.tbirdranch.com/techtips.html#Shift%20LeverComment
-
Linkage ...
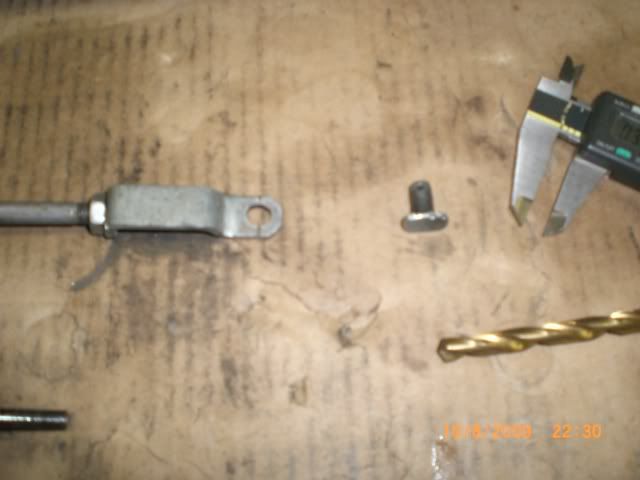
If yours is anything like my 60 you should check for slop in the linkage coming from the trans to the column. I welded mine up and re-drilled them.

Comment
-
it is done
Many thanks for your input. I took off the inner fender panel and was able to get a reasonable shot at the column. It took me a few hours as I was unable to get the split seal to compress enough to fit. After greasing it up and working 2 handed (using one hand I could see what I was doing but 2 handed my view was blocked) it finally slipped in. It is now tight and car shifts great --- without the parts drawing and description I would have been moaning about taking out the steering column. Thanks again Russ LComment
Comment