Announcement

Collapse
No announcement yet.

Custom Brake Booster

Collapse
X
 
  • Time
  • Show
Clear All
new posts
  • jopizz
    Super-Experienced


    • Nov 23 2009
    • 8345

    #16
    That's what the shock towers look like when you remove the heavy domed brackets. I don't see anything unusual.

    John
    Attached Files
    John Pizzi - Squarebirds Administrator

    Thunderbird Registry #36223
    jopizz@squarebirds.org 856-779-9695

    https://www.squarebirds.org/picture_gallery/TechnicalResourceLibrary/trl.htm

    Comment

    • simplyconnected
      Administrator
      • May 26 2009
      • 8787

      #17
      Ahh, there they are... The shock looks like the nut on top is frozen to the threads and without the brackets the whole tower looks mighty weak. This holds up half the front end as the upper spring perch is just underneath the top of the tower.
      Member, Sons of the American Revolution

      CLICK HERE to see my custom hydraulic roller 390 FE build.

      "We've got to pause and ask ourselves: How much clean air do we need?"
      --Lee Iacocca

      From: Royal Oak, Michigan

      Comment

      • Yadkin
        Banned
        • Aug 11 2012
        • 1905

        #18
        Originally posted by simplyconnected
        You might consider welding a heavy plate on top, then buy new front shocks. Is the other shock tower the same?

        I'm worried about the spring coming through... - Dave
        That's all nice solid metal, painted with red primer. The other side has the bracket and cap installed. Those pieces hold the shock in place.
        Attached Files

        Comment

        • simplyconnected
          Administrator
          • May 26 2009
          • 8787

          #19
          Thanks Steve and John, you've taught me something I didn't know.

          Now, I got it filed in the forefront of my brain cells. Gee, I hope I can remember this six months from now... Thanks again. - Dave
          Member, Sons of the American Revolution

          CLICK HERE to see my custom hydraulic roller 390 FE build.

          "We've got to pause and ask ourselves: How much clean air do we need?"
          --Lee Iacocca

          From: Royal Oak, Michigan

          Comment

          • jopizz
            Super-Experienced


            • Nov 23 2009
            • 8345

            #20
            Originally posted by simplyconnected
            Thanks Steve and John, you've taught me something I didn't know.

            Now, I got it filed in the forefront of my brain cells. Gee, I hope I can remember this six months from now... Thanks again. - Dave
            Six months? Six days is more like it with me.

            John
            John Pizzi - Squarebirds Administrator

            Thunderbird Registry #36223
            jopizz@squarebirds.org 856-779-9695

            https://www.squarebirds.org/picture_gallery/TechnicalResourceLibrary/trl.htm

            Comment

            • Yadkin
              Banned
              • Aug 11 2012
              • 1905

              #21
              Originally posted by simplyconnected
              Thanks Steve and John, you've taught me something I didn't know.

              Now, I got it filed in the forefront of my brain cells. Gee, I hope I can remember this six months from now... Thanks again. - Dave
              What year is your Bird? I thought 58-66 were the same chassis.

              Comment

              • Yadkin
                Banned
                • Aug 11 2012
                • 1905

                #22
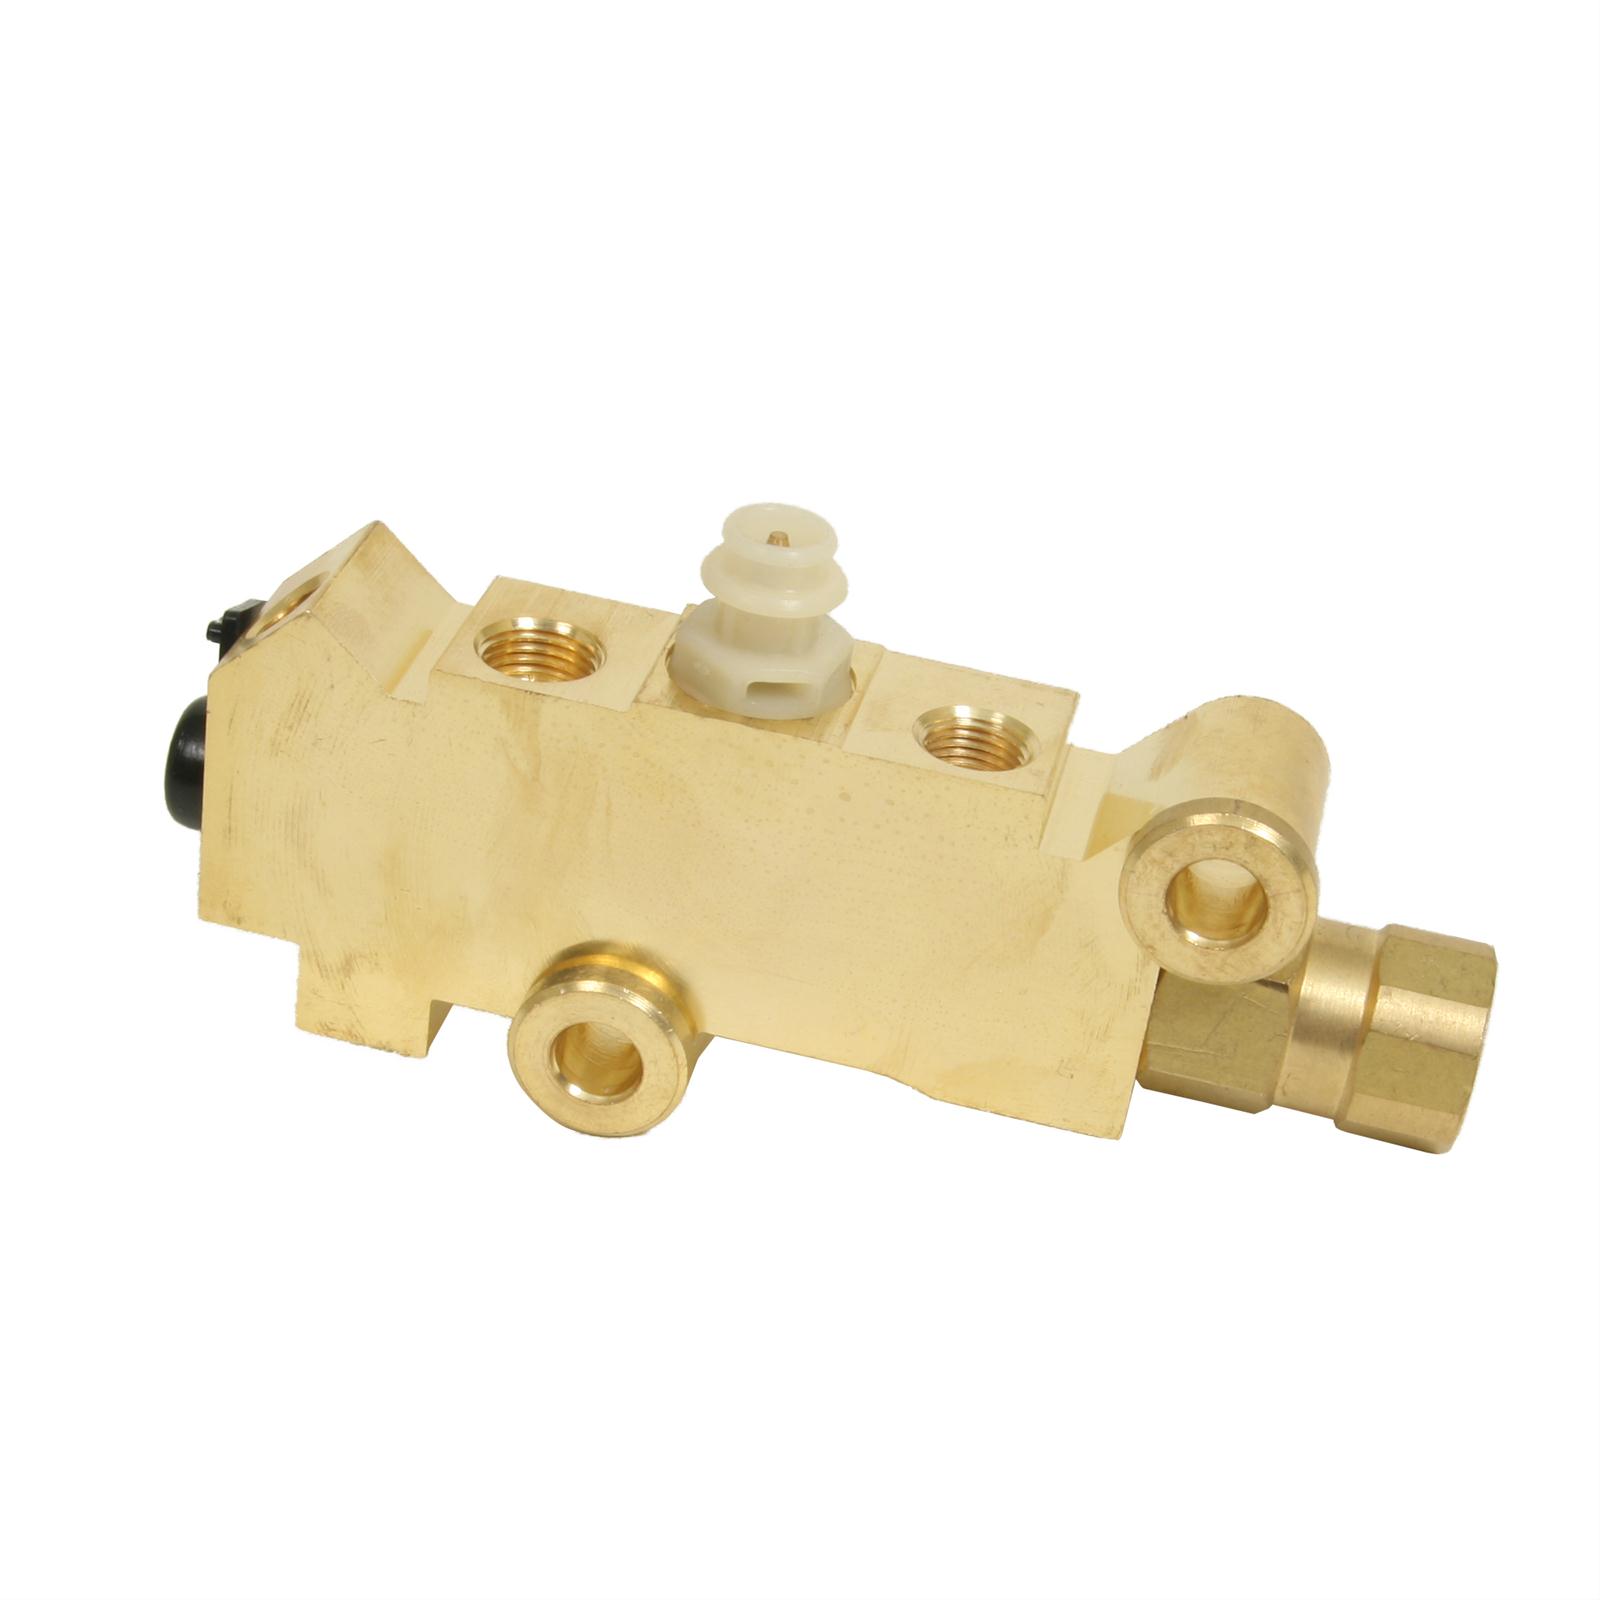
                Here we are with final assembly. For the plumbing, I had to drive to King, NC to a hydraulic hose maker and get a special fitting made so my front brake distribution block would fit between the new "fattie" master cylinder and the hood hinge.
                Attached Files

                Comment

                • Yadkin
                  Banned
                  • Aug 11 2012
                  • 1905

                  #23
                  And an overall view.
                  Attached Files

                  Comment

                  • ramos291
                    Apprentice
                    • Sep 18 2014
                    • 70

                    #24
                    wow hey thanks for the reply back and great information.

                    Comment

                    • booalou
                      Apprentice
                      • Jun 7 2007
                      • 60

                      #25
                      toms classics

                      Did you use the original vacuum booster linkage for your installation?

                      Comment

                      • Yadkin
                        Banned
                        • Aug 11 2012
                        • 1905

                        #26
                        Originally posted by booalou
                        Did you use the original vacuum booster linkage for your installation?
                        Yes. See post 10.

                        Comment

                        • Yadkin
                          Banned
                          • Aug 11 2012
                          • 1905

                          #27
                          Not satisfied with the overall braking performance, I've decided to take Dave Dare's advice and install a combination valve. Summit racing has a nice one for the same year Chevy sedan; the weight bias is about the same. They also sell stainless steel line and a neat flare nut set that fits all the "odd" size ports in the setup.

                          Combination valve:
                          Free Shipping - Summit Racing™ Brake Proportioning Valves with qualifying orders of $109. Shop Brake Proportioning Valves and Distribution Blocks at Summit Racing.


                          Flare nuts:
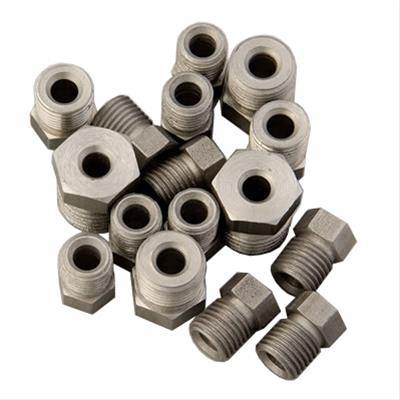
                          Free Shipping - Summit Racing™ Inverted Flare Tube Nut Fittings with qualifying orders of $109. Shop Hard Line Flared Tube Nuts at Summit Racing.


                          In order to fit the installation between the master and hood hinge I'm using two-inch diameter loops to go up then down into the top of the valve.

                          The stainless is not easy to double flare and bend as cunifer, but it looks terrific. Some patience and care, oiling the tool when flaring gives good results.
                          Attached Files

                          Comment

                          • simplyconnected
                            Administrator
                            • May 26 2009
                            • 8787

                            #28
                            Ever since OEMs came out with disk/drum brakes they have also included a proportioning valve (because it is necessary). I'd love to take credit for the idea but sadly, I can't.

                            I often reference Marcelo's brake job (because I don't have a Squarebird but he does):


                            Marcelo didn't use an expensive bending machine, he used nothing more than a pair of Harbor Freight brake pliers for all these bends. Notice how close the bend is to the nut on the brake switch block. Notice there are no loops and how 'clean' this job looks. Conventional bending tools cannot bend this tight so coils of tubing are required. Not any more. Simply slide the nut on tubing, flare the end, then position the pliers right up to the back of the nut and bend the tube. It's easier to do than to talk about it.

                            If space is an issue, use the right size nuts instead of buying expensive adapters. Coils produce much more resistance, they flex under pressure and they eat up more tubing. Think of one coil loop as being four ninety degree bends.

                            Carbon steel line, stainless line OR conifer brake line bend equally as well in bending pliers. I've never kinked a line using the pliers and it's the only bending tool needed for the whole job. For practice bending, I use one of the old lines I'm replacing. I also use old line for bench bleeding my new master cylinder; simply screw the nuts into the M/C ports and bend the old steel line up and over the reservoir but make sure the ends are below the surface of the brake fluid. Bending pliers make this silly-easy, even on steel line. HF wants about $12 for a pair of bending pliers.
                            - Dave
                            Member, Sons of the American Revolution

                            CLICK HERE to see my custom hydraulic roller 390 FE build.

                            "We've got to pause and ask ourselves: How much clean air do we need?"
                            --Lee Iacocca

                            From: Royal Oak, Michigan

                            Comment

                            • Yadkin
                              Banned
                              • Aug 11 2012
                              • 1905

                              #29
                              Dave, any thoughts on which ports on the master to feed which half of the car? I've noticed that old Fords that I've owned use the front bowl for the rear, and the rear bowl for the front. In a master with two large bowls I don't see why it would matter.

                              Also, it appears in your picture that the brake light switch is on a front port. Since the combination valve applies pressure to the rear brakes first, the switch should be on the rear half of the system.

                              Comment

                              • Deanj
                                Super-Experienced
                                • Nov 26 2015
                                • 631

                                #30
                                I'll say the rear reservoir is used for the front brakes on Ford and Mopar. GM uses the opposite assuming both reservoirs are the same size. This is according to a company named Stainless Steel Braking Corporation and found in one of their proportioning valve installation instructions.

                                Dean
                                Last edited by Deanj; May 3, 2017, 01:51 PM.

                                Comment

                                Working...
                                😀
                                🥰
                                🤢
                                😎
                                😡
                                👍
                                👎