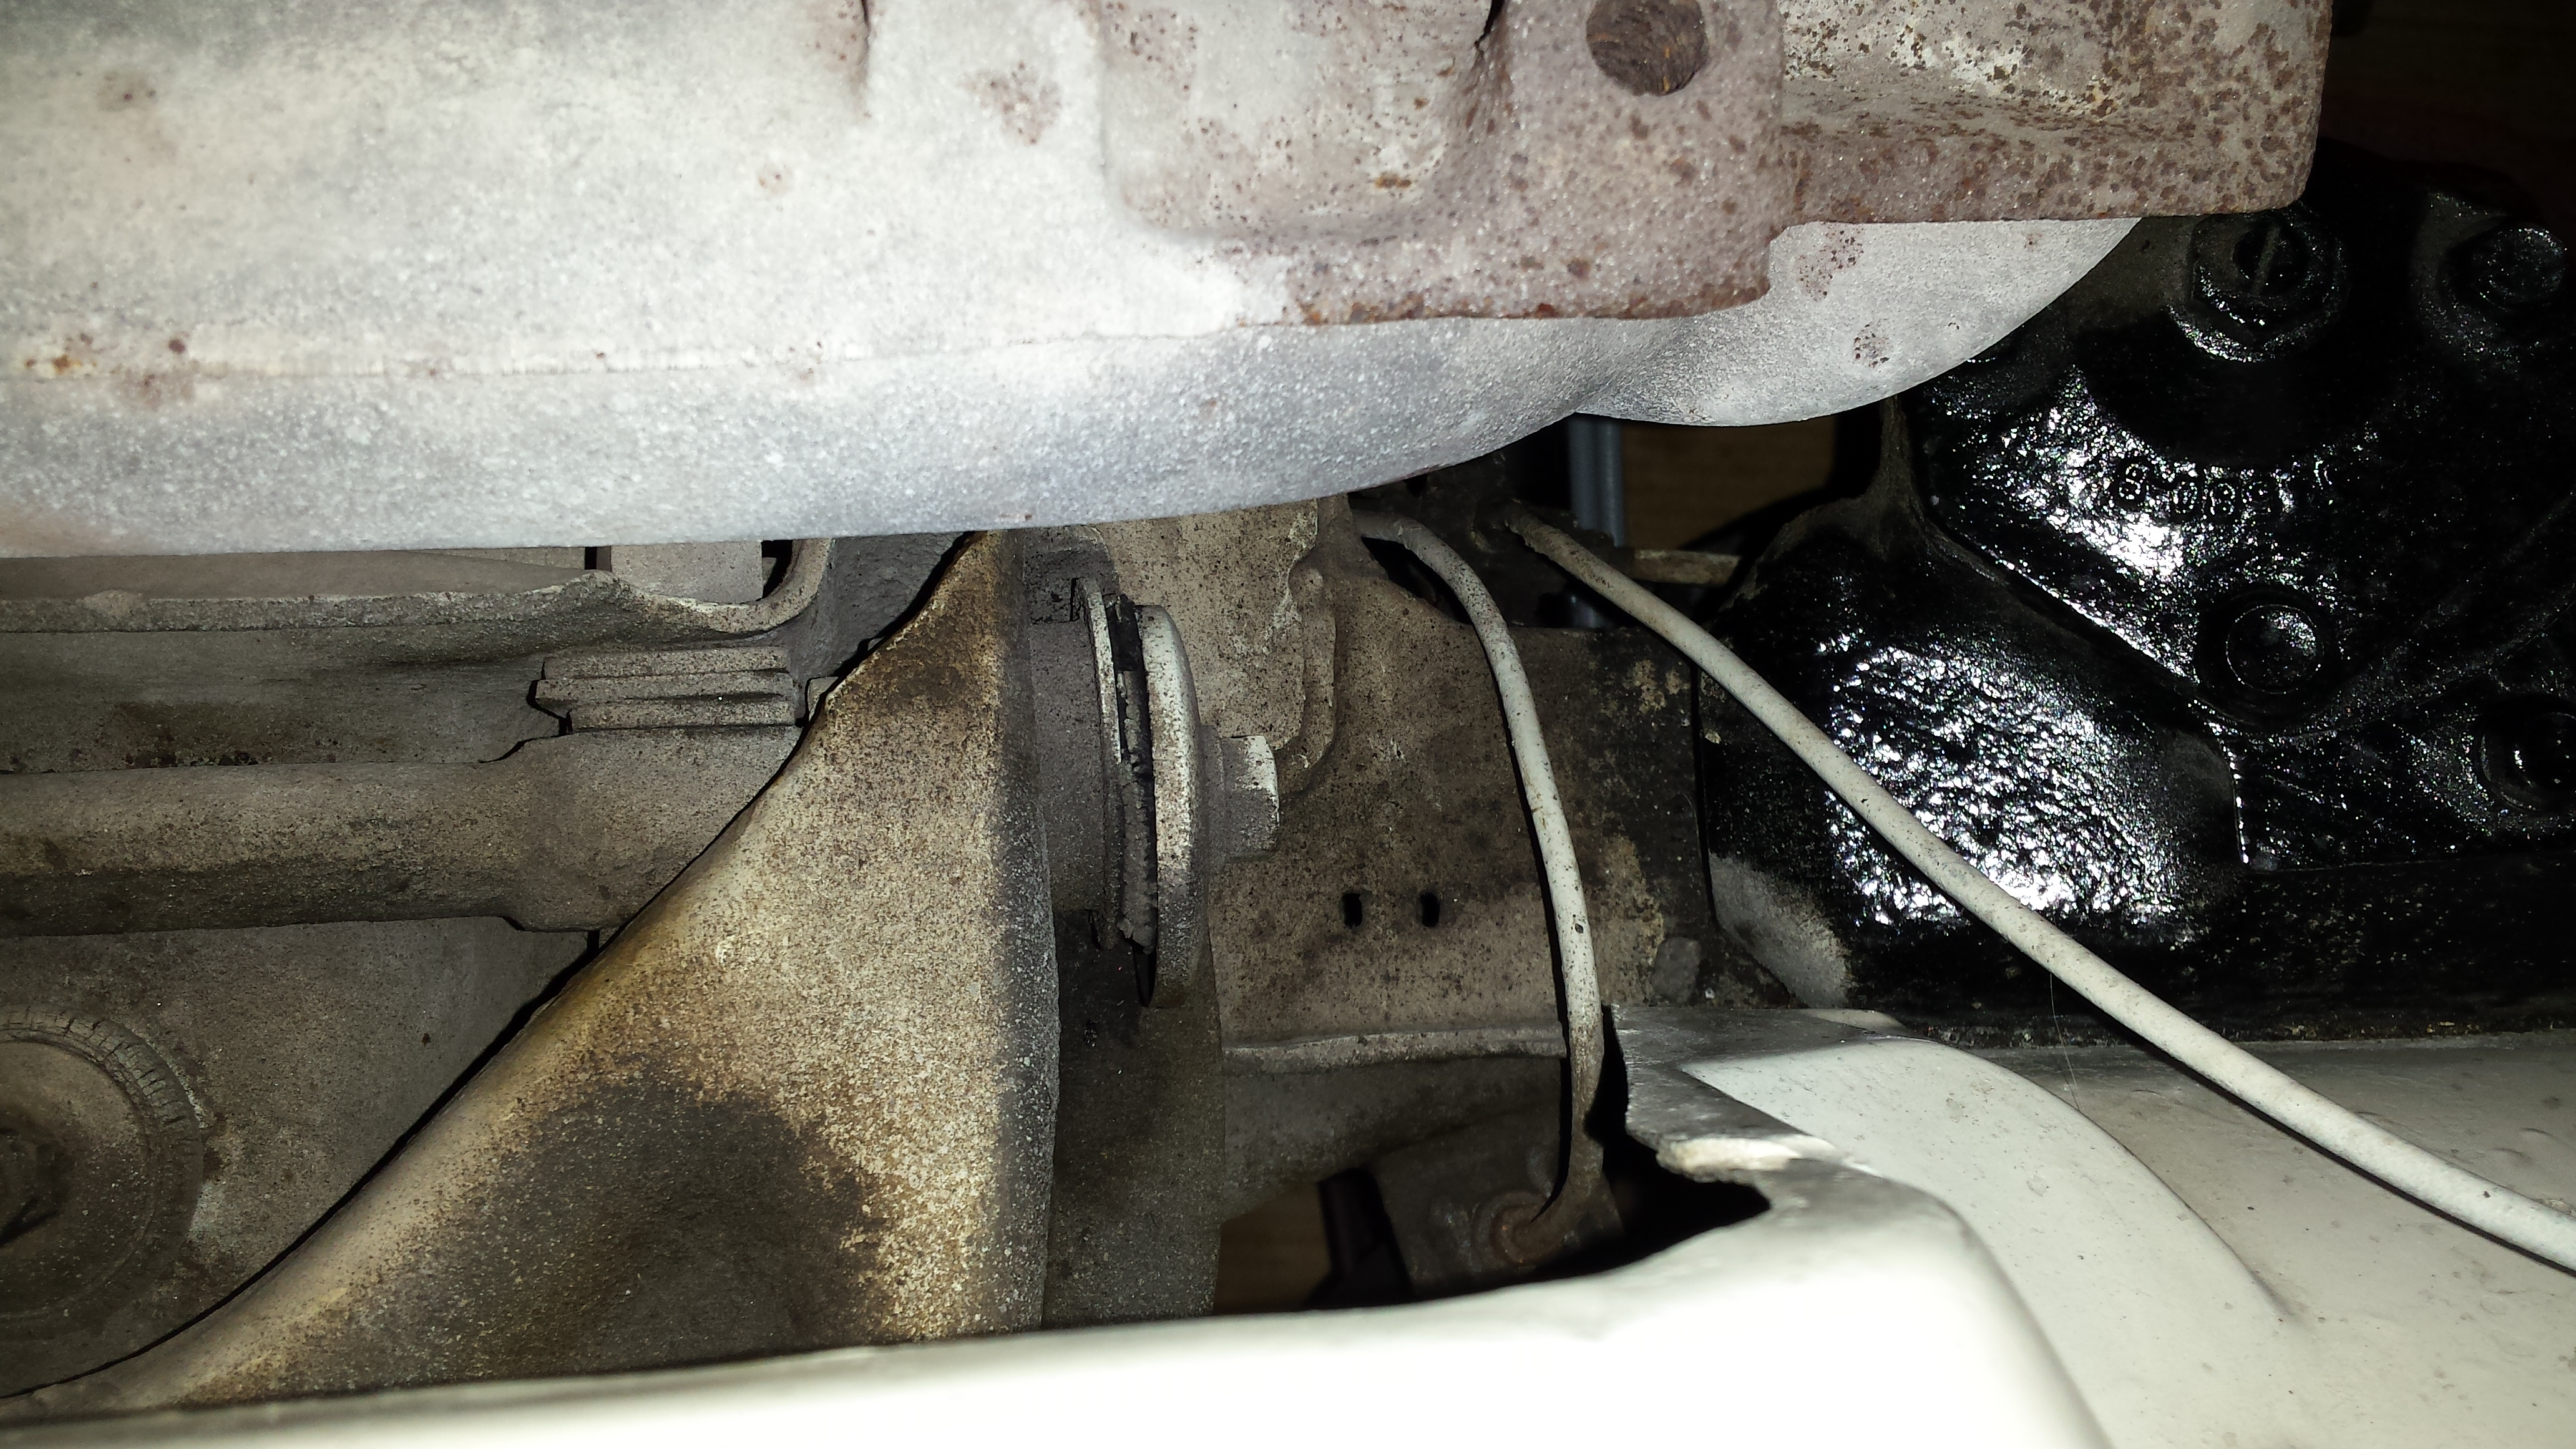
Announcement

Collapse
No announcement yet.

Eric's 1960 T-Bird

Collapse
X
 
  • Time
  • Show
Clear All
new posts
  • Eric S
    Super-Experienced

    • Jun 10 2018
    • 1054

    On upper arms
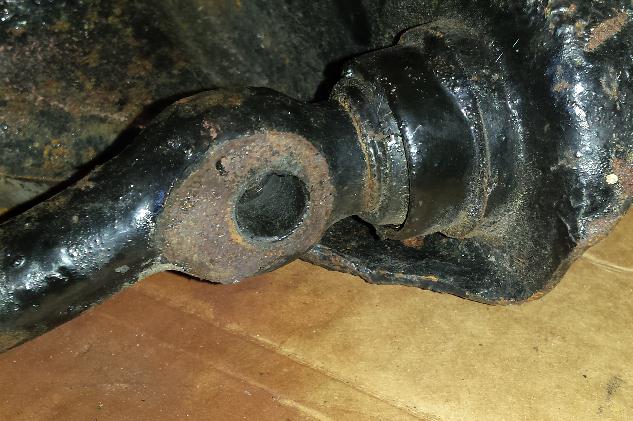
    The ORIGINAL bushings seems well to have been ran into the arm PAST the shoulder if I judge from the steel having been shaved.
    So again, are they supposed to be stopped at the shoulder or passed in?
    I see on Larry's TBird that the upper arm bushing beside being 50% cheaper than at Bird Nest, do not have the shoulder ???


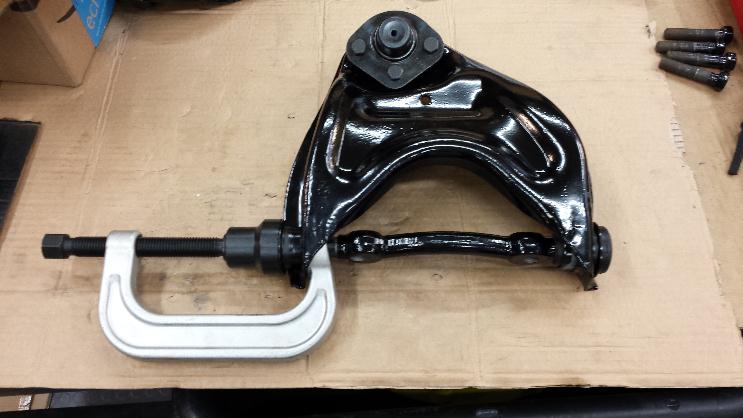
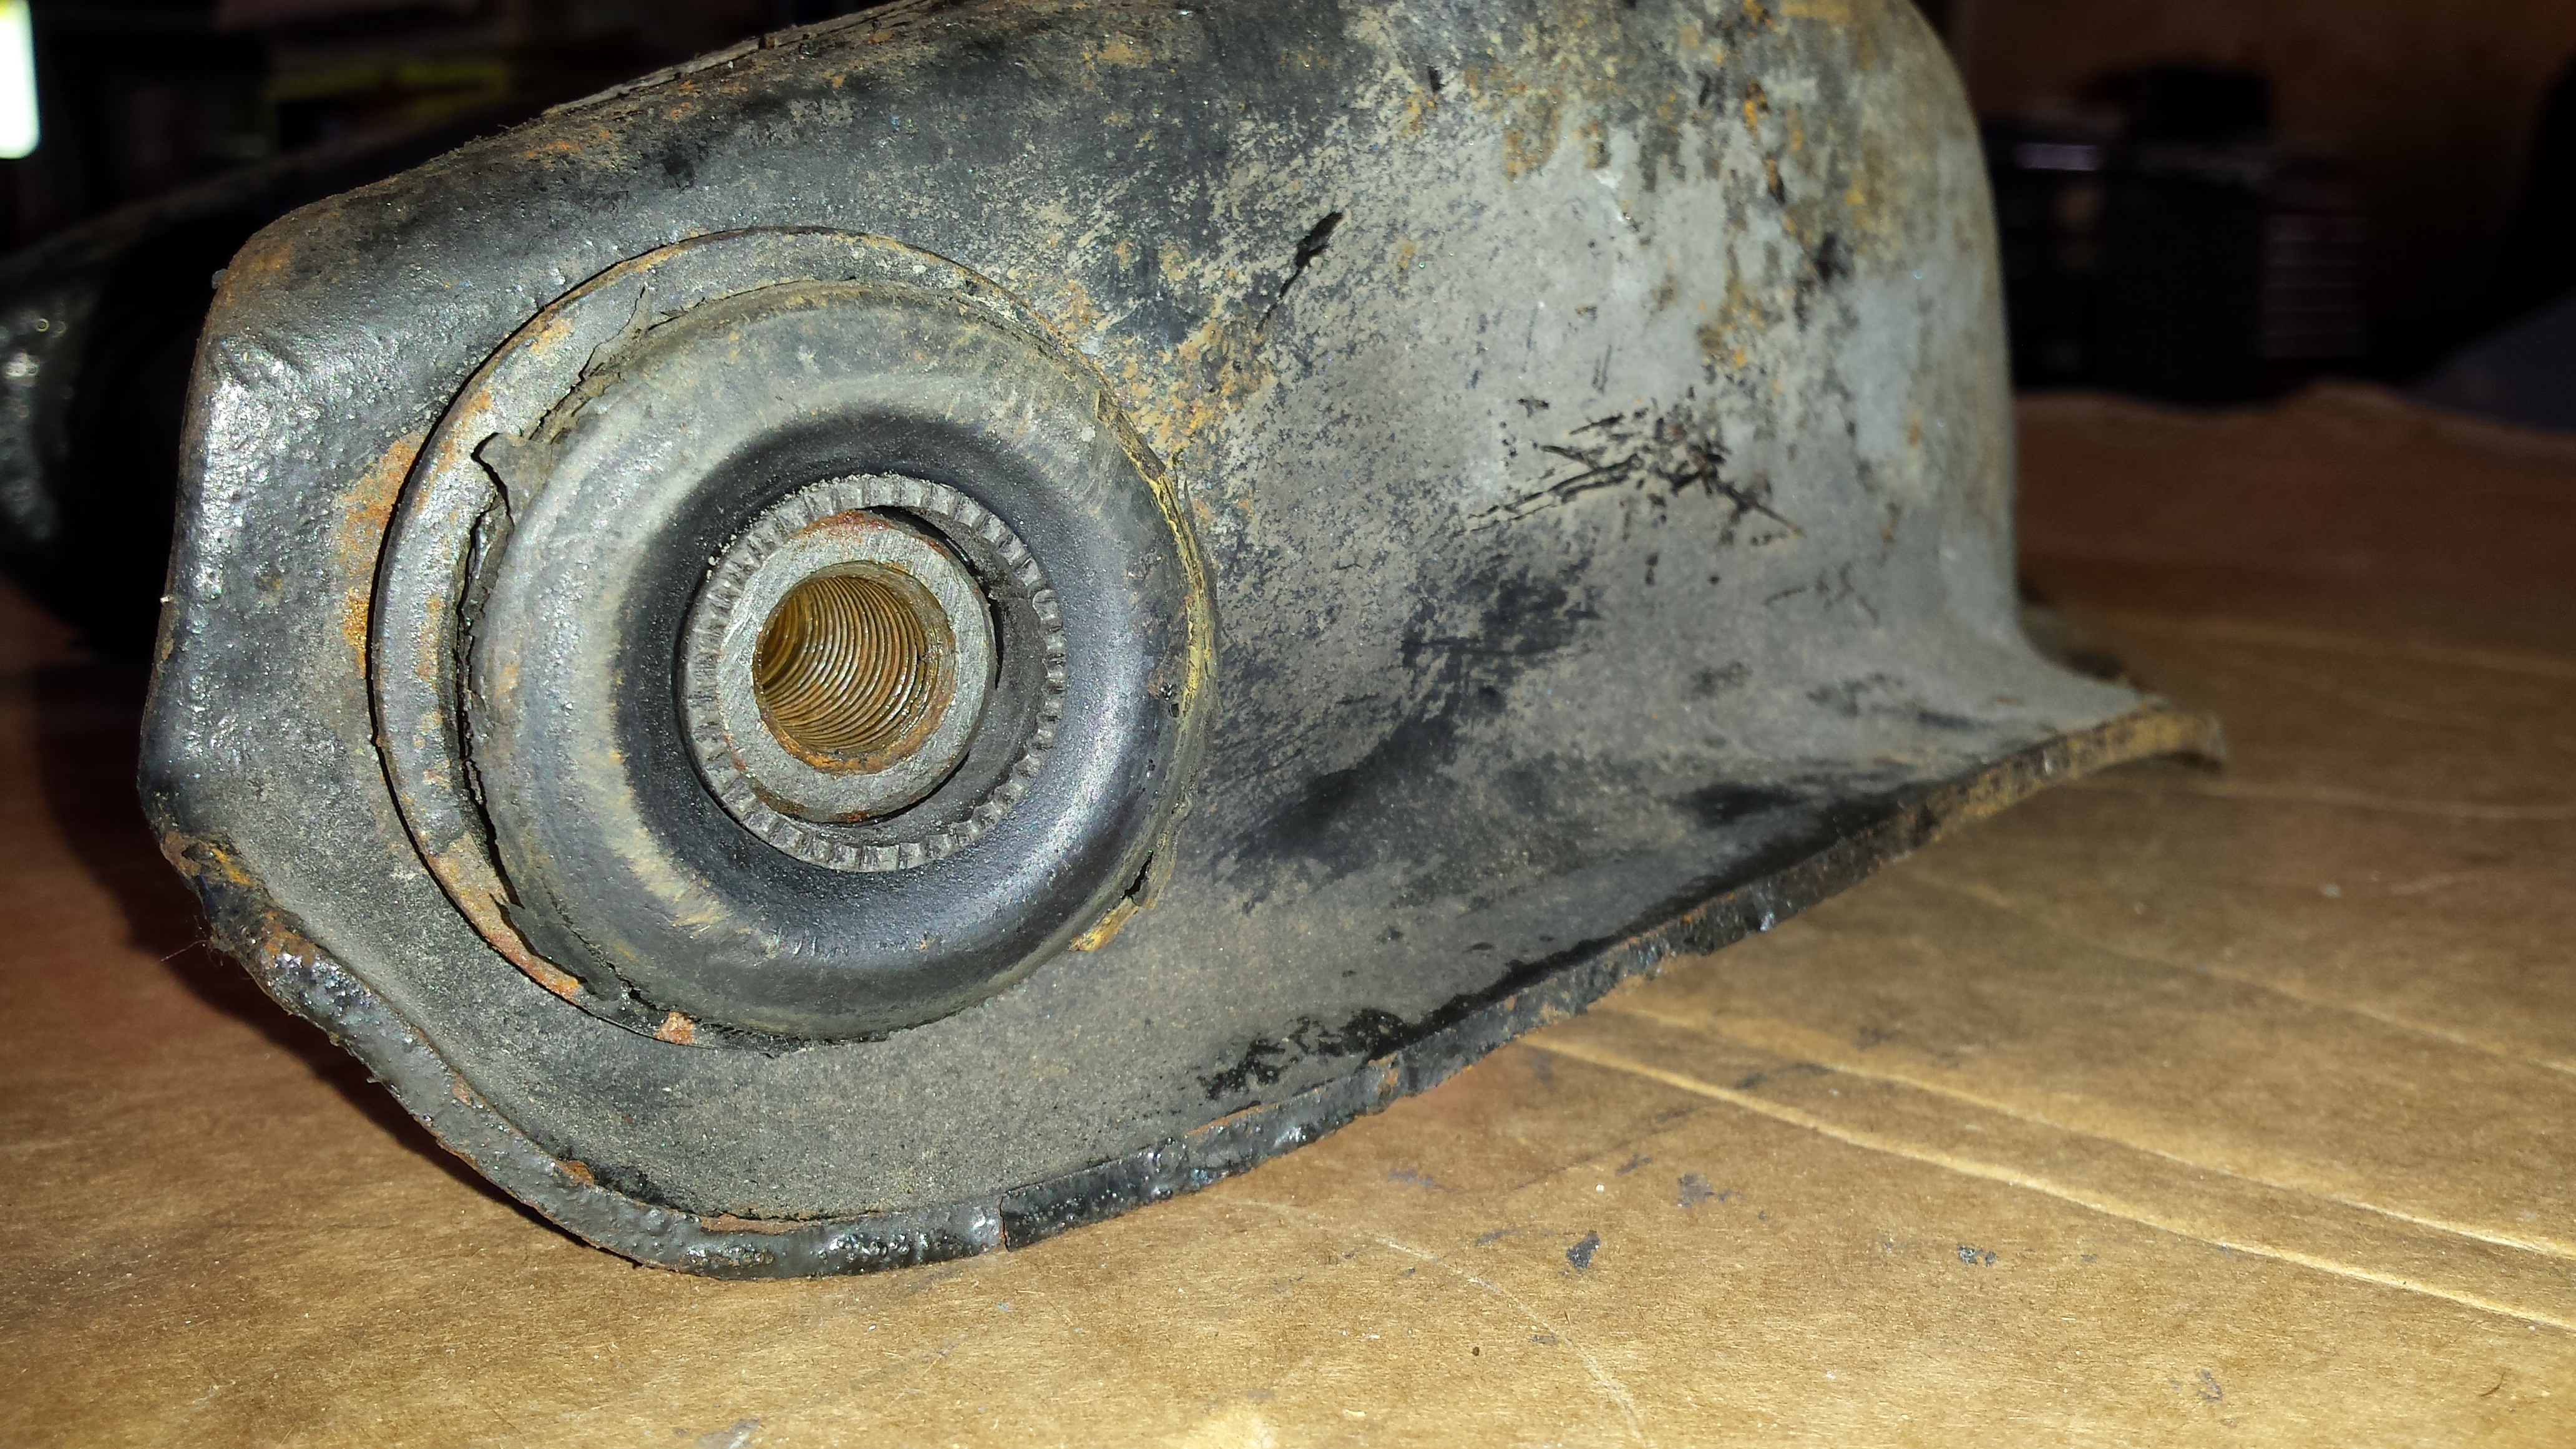
    Now I seem to be too weak to hammer them in any more and the flanges are crushing.

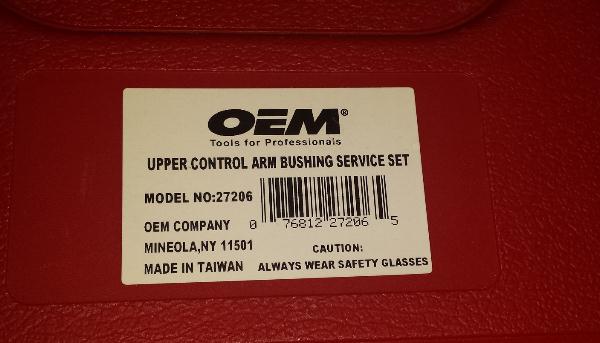
    The only way that seems to be left is to use Ford's special tools per the manual. WIt hopes that I can enter them without crushing the flange.
    Tools are not really sophisticated, maybe some tubes and rods. So I guess it would be easier to work that the Ford's way.
    If anybody has some drawings of the Ford's tools I will be glad to get them !
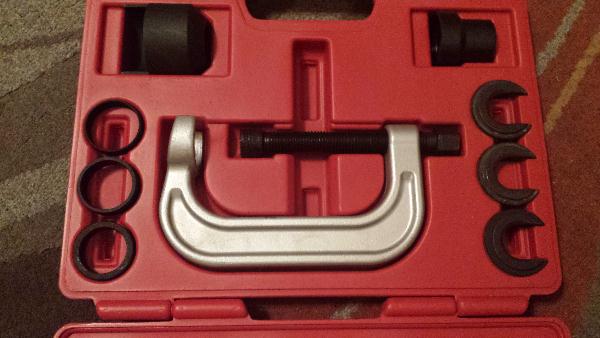
    Or anybody used commercial tools?

    I really can not see how Dave can hammer them in so easily. Is there any chance parts has been modified ?

    Now this lead to another question.
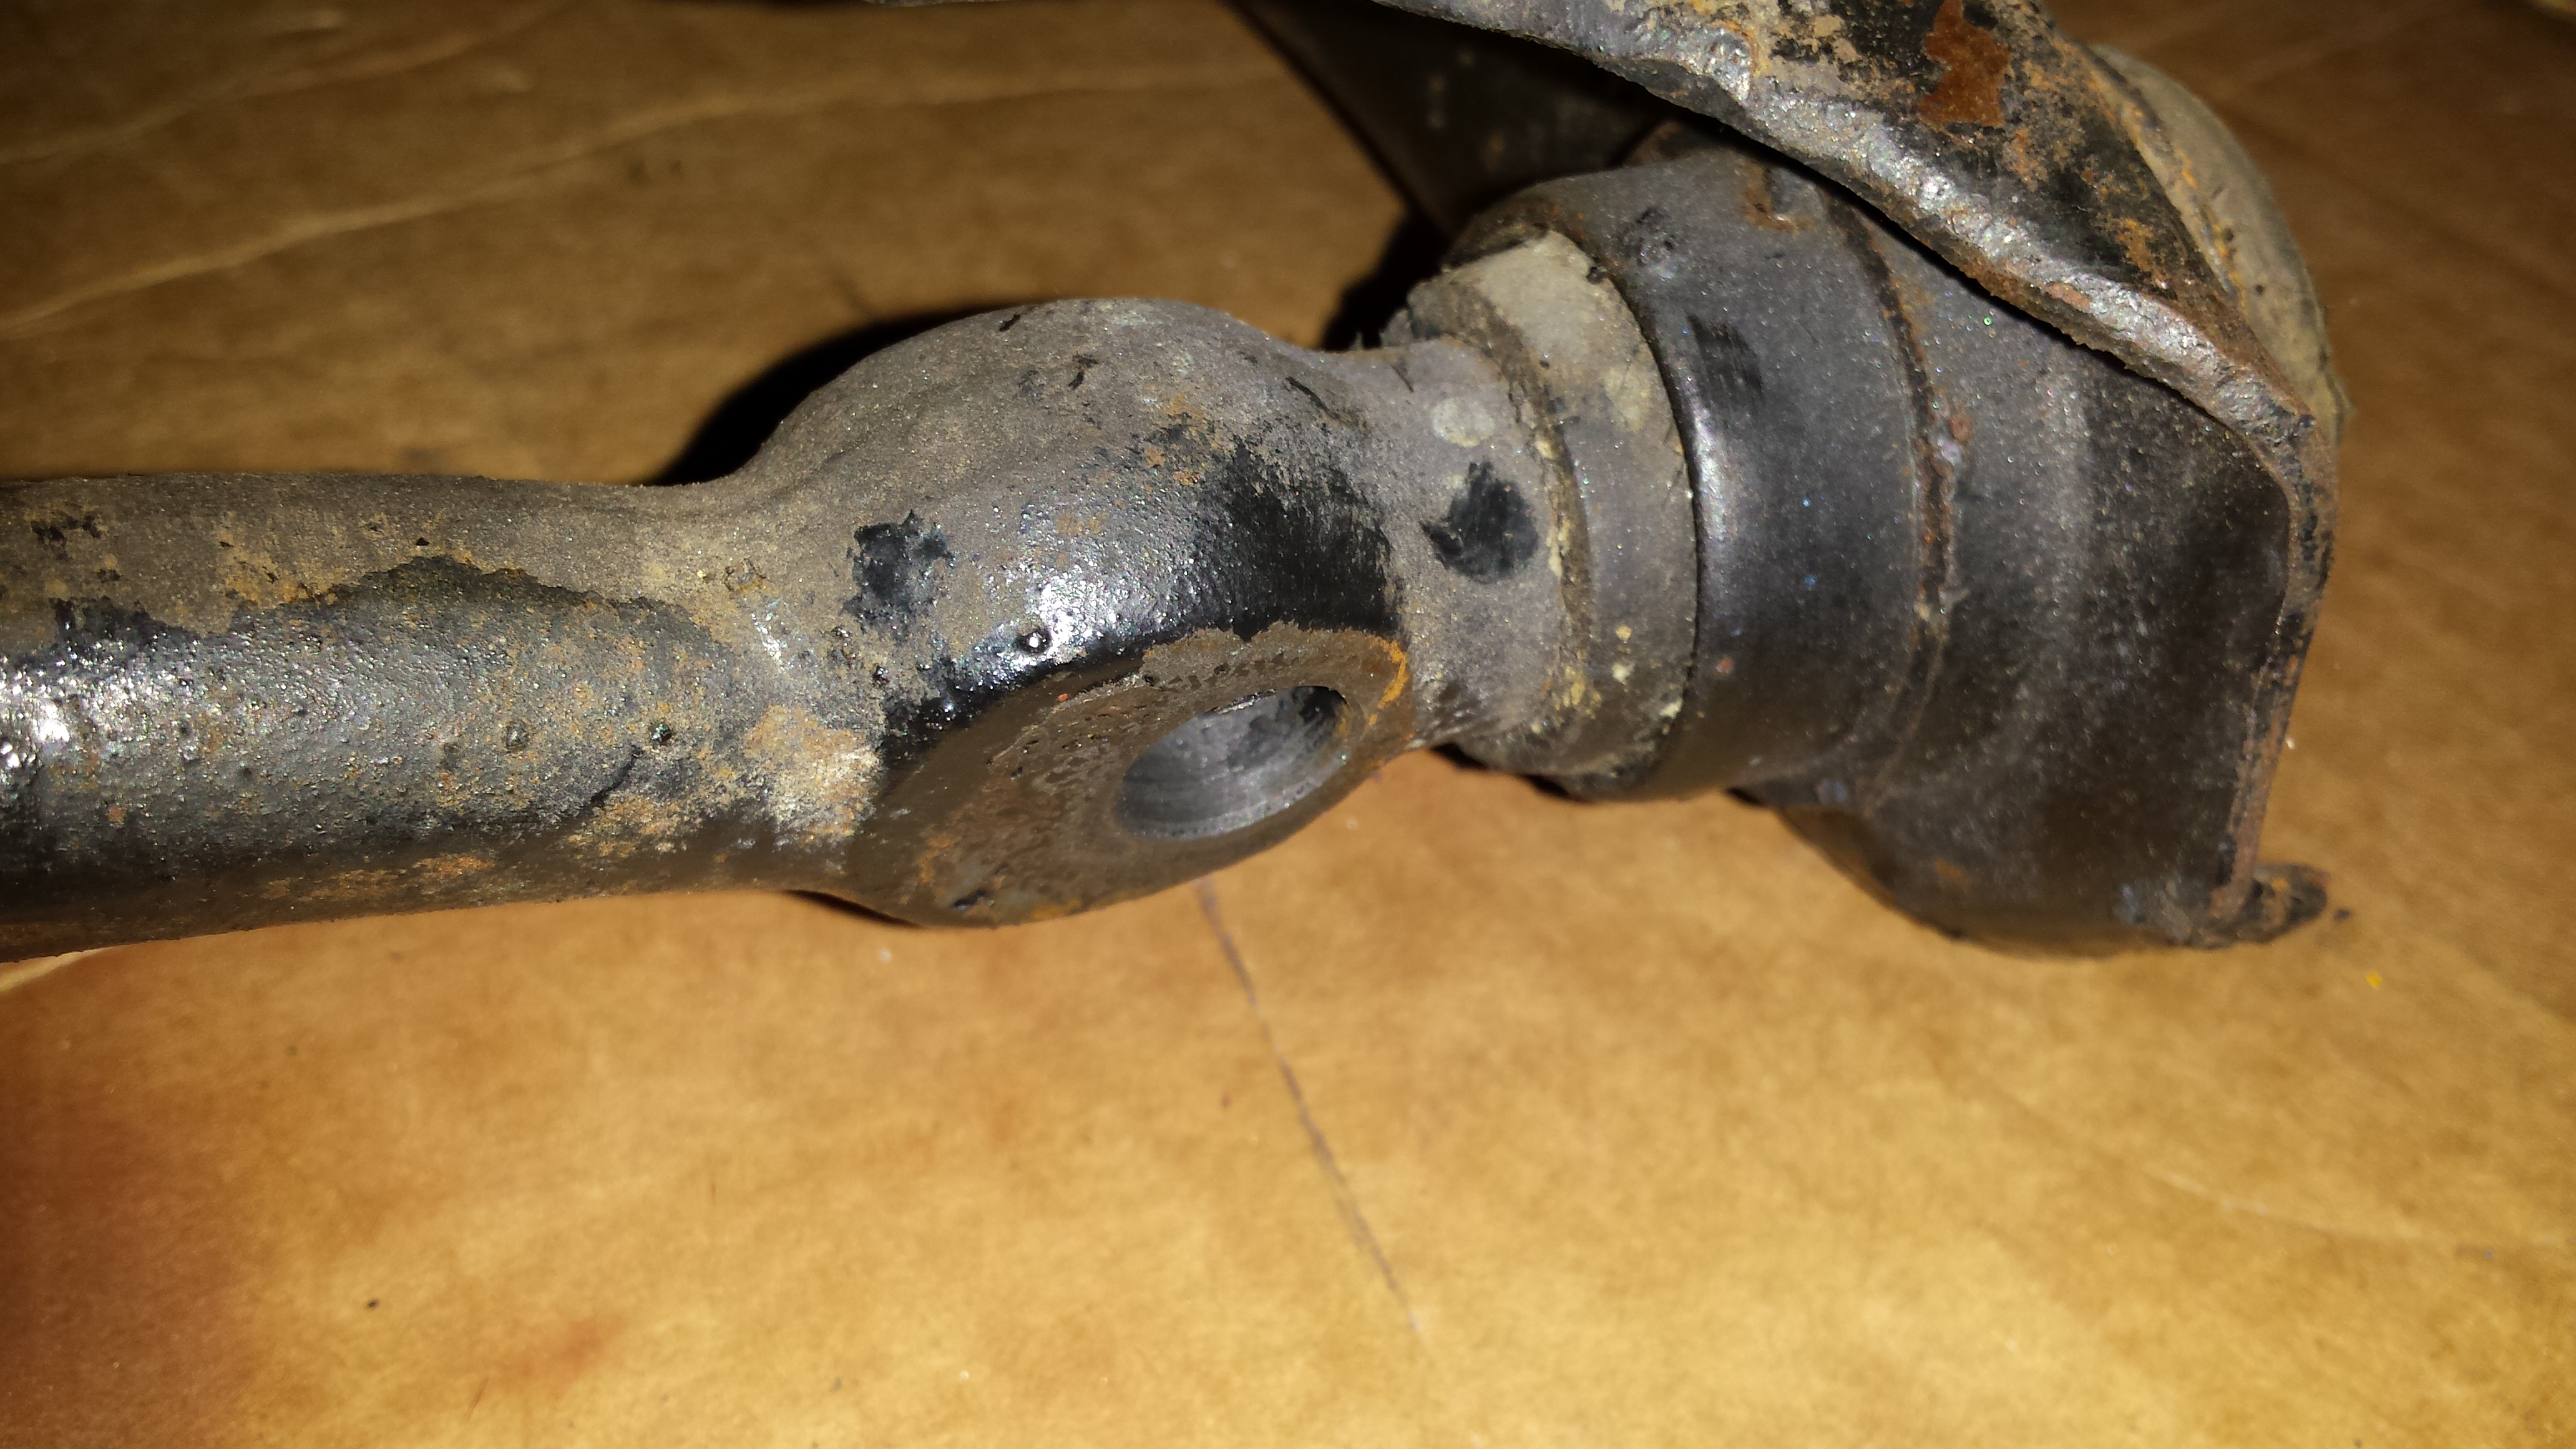
    As I learned it the bad way, the inner sleeve can be tear off.
    So how tight do we want the bushings on the inner shafts.
    Too loose an d the screws will press on the urethane to make contact on the shafts and make an useless tension.
    Too much pressure on the bushing and the inner sleeve will touch the shaft and puyshed back and tear off.
    Attached Files
    Last edited by Eric S; November 3, 2018, 06:10 AM.

    Comment

    • Woobie
      Experienced
      • Apr 1 2016
      • 146

      At this point I would recommend renting the proper tools to install the bushings. If the auto parts stores in your area offer the specific tools needed as a free loan; that would be better yet.

      If you have the proper bushings this should be about an hour or so to do both sides, upper and lower with coffee break.

      The struggle that you are experiencing tells me that something is wrong with the new parts or control arms and some damage may be happening. Not good.
      Austin

      Comment

      • Derbird
        • Jul 10 2016
        • 177

        Dave must be a very persistent and big guy. I too started hammering them in and quickly decided to put them in a press.

        Comment

        • Eric S
          Super-Experienced

          • Jun 10 2018
          • 1054

          I don't know where to rent tools in my area so I'd be better making them or getting a commercial set.
          It will be always usefull to get it should I need it later.
          Derbird, did yurs had the shoulder too? Did you passed the shoulder?

          Comment

          • OX1
            Super-Experienced
            • Feb 10 2016
            • 557

            Originally posted by Eric S
            I don't know where to rent tools in my area so I'd be better making them or getting a commercial set.
            It will be always usefull to get it should I need it later.
            Derbird, did yurs had the shoulder too? Did you passed the shoulder?
            Here is the tool I used. Super easy.......


            Says $37 international shipping to france

            59-430-HT

            Comment

            • YellowRose
              Super-Experienced


              • Jan 21 2008
              • 17229

              Eric's 1960 T-Bird

              When suggesting that someone run down to the local Harbor Freight, Home Depot, Lowes, or local tool parts store, it is good to look over on the right side of the post to see where that person is located at... In Eric's case, he is, as someone just pointed out, in France, where stores like that may not be located...

              Ray Clark - Squarebirds Administrator
              The Terminator..... VTCI #11178 ITC #6000 Yellow Mustang Registry (YMR) #12188
              Contact me via Private Message for my email address, or Call (Cell) 210-875-1411

              https://www.squarebirds.org/picture_gallery/TechnicalResourceLibrary/trl.htm
              Faye's Ovarian Cancer Memorial Website.
              https://faye.rayclark.info/index.html

              Comment

              • Woobie
                Experienced
                • Apr 1 2016
                • 146

                Very good point and highly unusual to have squarebird control arms in france
                Austin

                Comment

                • Eric S
                  Super-Experienced

                  • Jun 10 2018
                  • 1054

                  Thank you guys
                  Ordering via UPS or any other courrier makes France and the US (or any other part of the world) looks pretty close.

                  However I still do not know if I need to pass the shoulder into the arm???
                  Again the bushings at HarrysTbird has no shoulder. Those at Bird Nest do have one and I am afraid (based on the hammer strikes I did) that I can not pass the shoulder with this simple OEMTools...

                  Also anyone installed the lower arms with no shims?
                  Last edited by Eric S; November 3, 2018, 12:13 PM.

                  Comment

                  • OX1
                    Super-Experienced
                    • Feb 10 2016
                    • 557

                    Originally posted by Eric S
                    Thank you guys
                    Ordering via UPS or any other courrier makes France and the US (or any other part of the world) looks pretty close.

                    However I still do not know if I need to pass the shoulder into the arm???
                    Again the bushings at HarrysTbird has no shoulder. Those at Bird Nest do have one and I am afraid (based on the hammer strikes I did) that I can not pass the shoulder with this simple OEMTools...

                    Also anyone installed the lower arms with no shims?
                    The inner edge of bushing metal tube has teeth that have to bite into shaft, on both sides.


                    Both bushings also have to be in an equal amount in
                    control arm, to center bar. Not sure how you know how
                    much to insert the first bushing, without the shoulder.
                    Is there a dimension in shop manual maybe?

                    Anyway, bunch of pics I took here when doing mine.


                    and yes, I only put shims on one side of my lowers, that is all that would fit. I believe it was the rear, as theoretically, it gives you a smidgen more caster.
                    59-430-HT

                    Comment

                    • Woobie
                      Experienced
                      • Apr 1 2016
                      • 146

                      Originally posted by Eric S
                      I don't know where to rent tools in my area so I'd be better making them or getting a commercial set.
                      It will be always usefull to get it should I need it later.
                      There are areas around here that are 40 miles from the nearest post office so I understand what you are referring to.

                      The kit that OX1 referenced in the previous message is one that I have used many times and is of high quality. It was a free rental from the parts store that may have been used a hundred times before.
                      Austin

                      Comment

                      • simplyconnected
                        Administrator
                        • May 26 2009
                        • 8787

                        Henry, you have great pictures. Can I use them for reference?

                        I keep my ****nal of tools simple for reasons that;
                        • they are expensive
                        • I don't need specialty tools much
                        • I don't want to store a bunch of tools I don't need or seldom use.
                        • I have what I need but I can also make pullers, etc.
                        I'm serious when I said I use hammers and pipe nipples, NOT my 20-ton press. I can't get a feel for my work in the press but I can using hand tools. Others may use other methods.

                        I recommended you take before and after pictures because they tell the whole story.

                        Randy Harsha took pictures of his Squarebird parts car's control arms before changing his bushings. This is Randy's FIRST TIME for changing bushings. He chose to use a hacksaw to remove the urethane and inner sleeve. The remaining outer shells are still in the lower arm holes, plainly showing the 'hash stops'.

                        These are unmolested Ford bushings showing exactly how deep they were installed at the factory. NONE of them are driven all the way as these pictures show air gaps between all the flanges and the control arms. I also included Eric's picture of the outer upper arm shells that he removed. They show witness marks from where they stopped. BTW, Randy didn't use specialty tools either because they simply aren't necessary (but hey, it's your money to do with what you want). I've never seen an aftermarket Ford bushing without a shoulder.

                        I start the following pictures with a lower arm then the upper arm. I did not include Randy's 'after' pictures but his finished arms look beautiful:
                        Attached Files
                        Member, Sons of the American Revolution

                        CLICK HERE to see my custom hydraulic roller 390 FE build.

                        "We've got to pause and ask ourselves: How much clean air do we need?"
                        --Lee Iacocca

                        From: Royal Oak, Michigan

                        Comment

                        • Woobie
                          Experienced
                          • Apr 1 2016
                          • 146

                          Those are great photos.

                          Maybe it's time to put the micrometer to work taking measurements to insure the correct parts are being installed.

                          I'd hate to sit here and hear that you have destroyed your control arms through all this.
                          Austin

                          Comment

                          • Eric S
                            Super-Experienced

                            • Jun 10 2018
                            • 1054

                            Dave
                            what do you mean here :
                            The shims are inserted BEFORE the spring goes in.

                            I am not sure if the bushing at Larry's TBird had a shoulder or not as the picture is the same on another Bushing with a different part number. Maybe their picture is just the wrong one... I asked them.

                            On my original upper bushings, as I said they look like the "shouldered" upper bushings has been passed the shoulder.
                            You said Witness mark at the shoulder stop. But I think the shoulder stop has been moved (see picture below) as I can see 2 witeness marks.

                            Henry
                            thank you for the pictures. I can see on 1 upper arm, the bushing flange is almost touching.
                            So that means that I need to PASS the shoulder.
                            I remain concerned that the tools you used has not enough force to press them in though with a mere "screw".
                            And after 2 heavy hammer strokes on the right hand the other day and 1 grinder disk cut in a left hand finger and 5 hours in the hospital today to "close the gap" on another job I need to use clever tools and no BULL force.
                            Maybe I should pay somebody to do the work

                            Anyway on uppers,
                            I need to remove the bushing that I destroyed and I don't think the tool can push the other way. As the part are painted I don't want to burn the urethane so I will make a tool per the manual. I should be able to use some tubes and squares to do it.

                            Woobie
                            It is unfortunately too late to make measures and the punched holes do not afford exact references to make measures. Also I am not sure that originalk and replacements are same size anbd originals lost some integrity, having been melt down, burnt anbd inner and outer sleeve being separated.
                            I seem to never make enough pictures or enough measurments when disassembling. Learning the bad way.

                            On lowers
                            as I said I can not make accurate measurements. And I really don't have a problem with them except I am not using shims to compensate for fore and aft movement which is not present.
                            Shims only fit on the front of the arm so the rear has contact inner sleeve/crossmember. With no shims. So the absence of shims do not seems to be a problem as such and again I have no room for shims except if I take back more the bushings but will then loose grip (they are already not seated in full).

                            And just in case you may ask, yes I triple checked that I used the upper busqhings on upper arms and lower bushings on lower arms.

                            So to ummarize the "only" problems I have are
                            1. Is no shim OK on the lowers. If OK then I don't have any problem and I don't see how it could be different.
                            2. Beside the fact that I need new ones, I just need to install new upper bushings and PASS this **** shoulder so I have a nice contact on the inner shaft.

                            I agree that's a lot of messages for nothing really difficult but this shoulder is really tough to pass over...
                            Attached Files
                            Last edited by Eric S; November 4, 2018, 02:42 PM.

                            Comment

                            • OX1
                              Super-Experienced
                              • Feb 10 2016
                              • 557

                              Those 2 lines are just the shoulder and where the control arm was wrapped around the outer bushing tube, on the inside.

                              Neither the bushings I pulled out, nor the one's I put back, had a shoulder that started out that far inboard, as you are suggesting.

                              I'm pretty sure these were original.


                              That is distance you are looking for. There is no way a person could "extrude" that shoulder, that perfectly, if it started at the inboard line (especially using another piece of thick
                              sheet metal that was doing the extruding, IE control arm).


                              And the pic I think you are talking about, it is an optical illusion.


                              It's not pressed in all the way flat like you think (at least I think that is what you are saying). Just look at the distance from the other end here


                              You can see it's about the same as the one's with white overspray (hard to see, but you can glimpse inner part of
                              bushing tube).


                              And yes, that tool I posted has different cups for pressing in or out.

                              Did you ever post pics of exactly what you currently have going on?
                              59-430-HT

                              Comment

                              • Eric S
                                Super-Experienced

                                • Jun 10 2018
                                • 1054

                                The only handy picture I have is there (made it larger this time)
                                Not having to pass this shoulder (which is what I am asking for days) would explain why I can not do it.
                                But then how can I squeeze the inner shaft as it is still loose by .40".
                                I made nothing that would have widenned the arm by that much...

                                The 2 pictures that made me think they were all the way in are

                                Attached Files

                                Comment

                                Working...
                                😀
                                🥰
                                🤢
                                😎
                                😡
                                👍
                                👎