 Tweet
Tweet
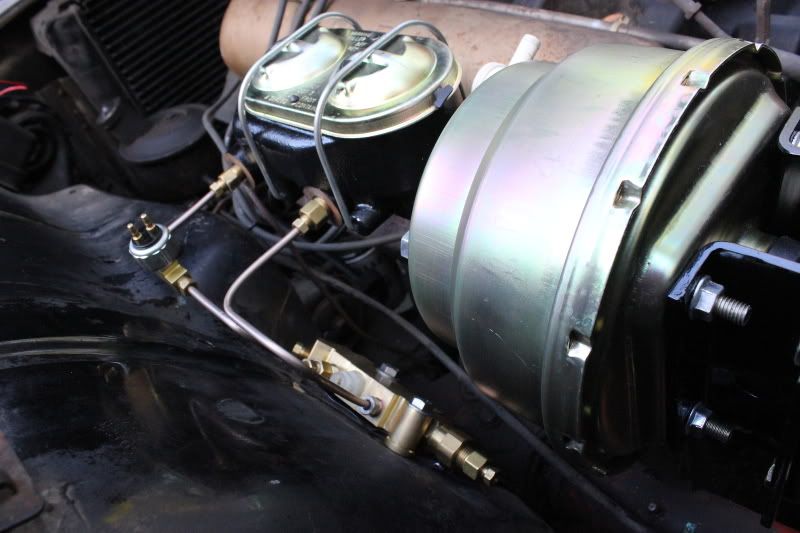
Here are the brackets curing in the sun.


 )
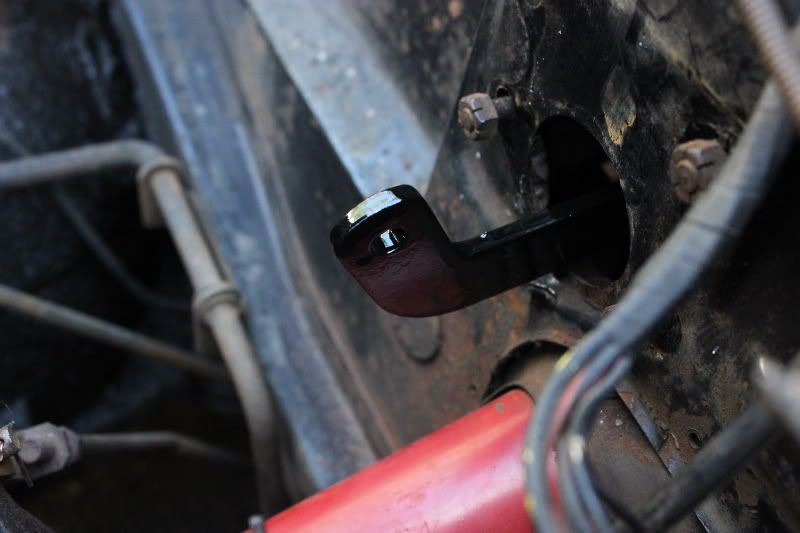
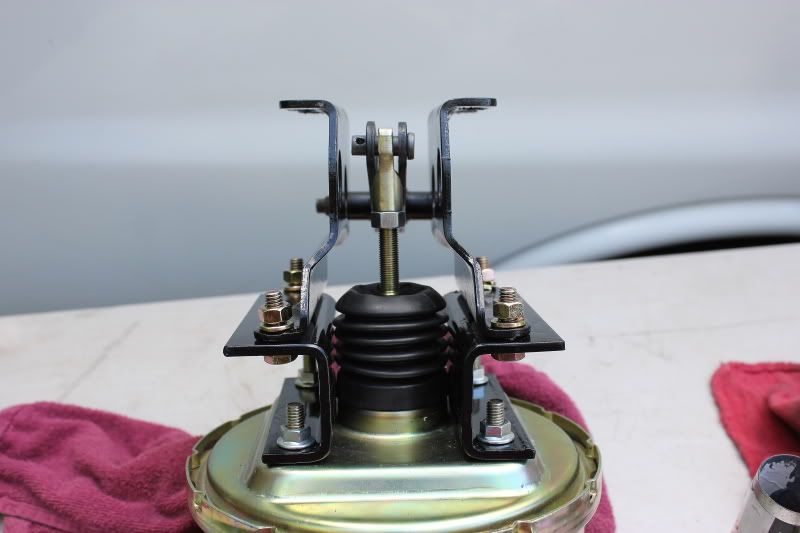
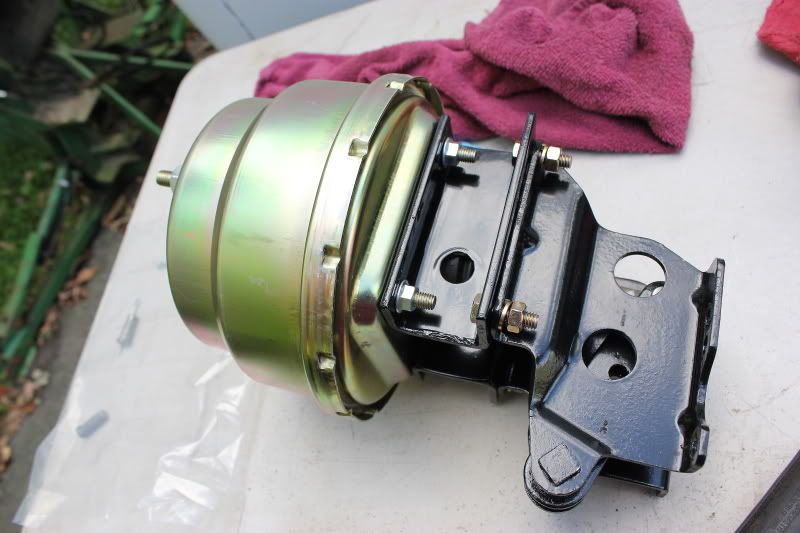
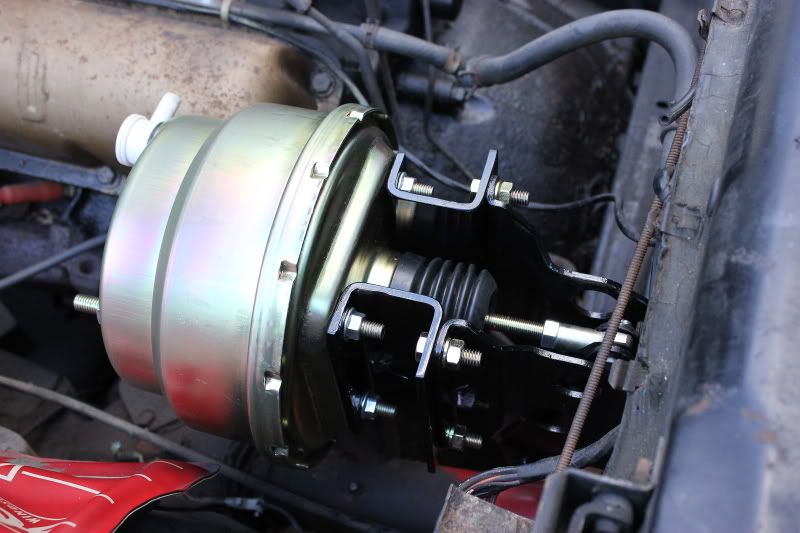
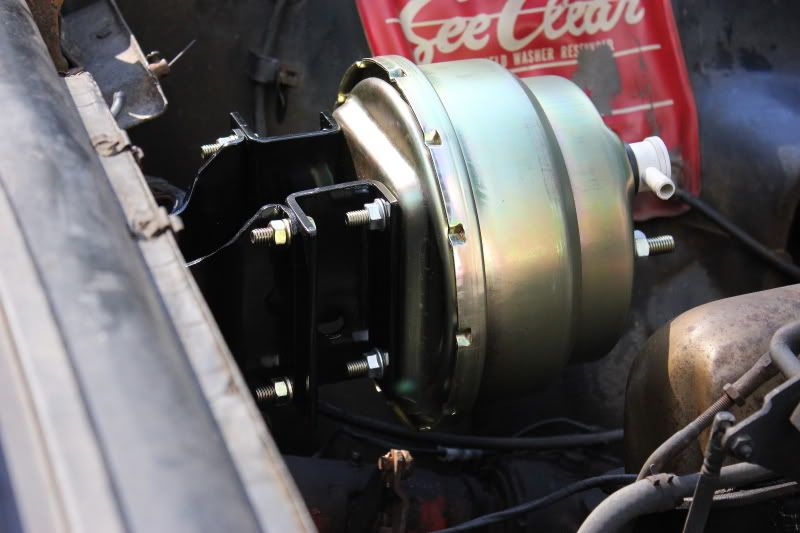
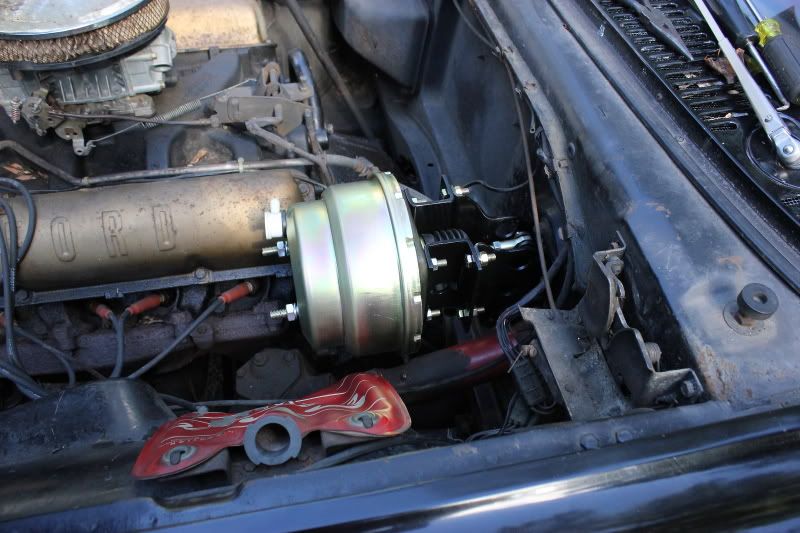
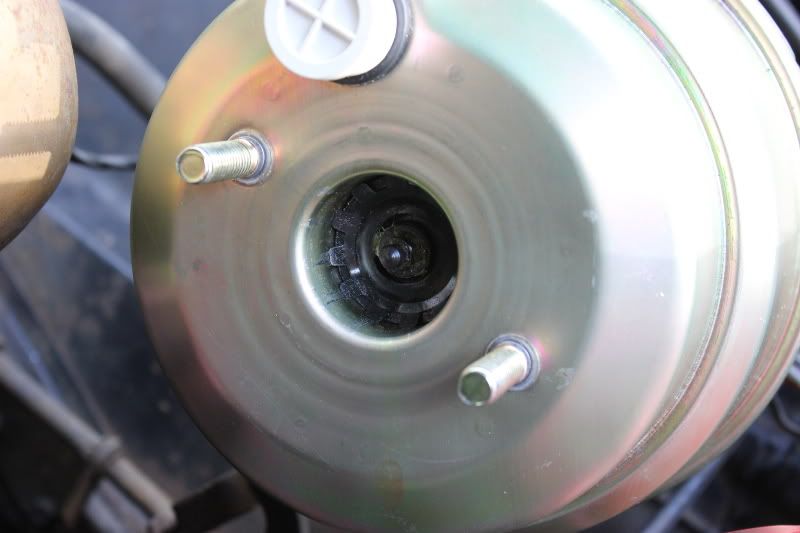
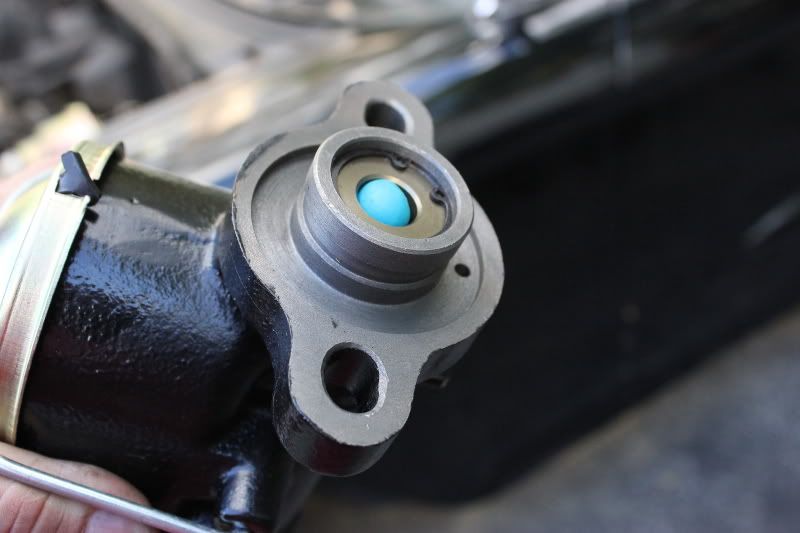
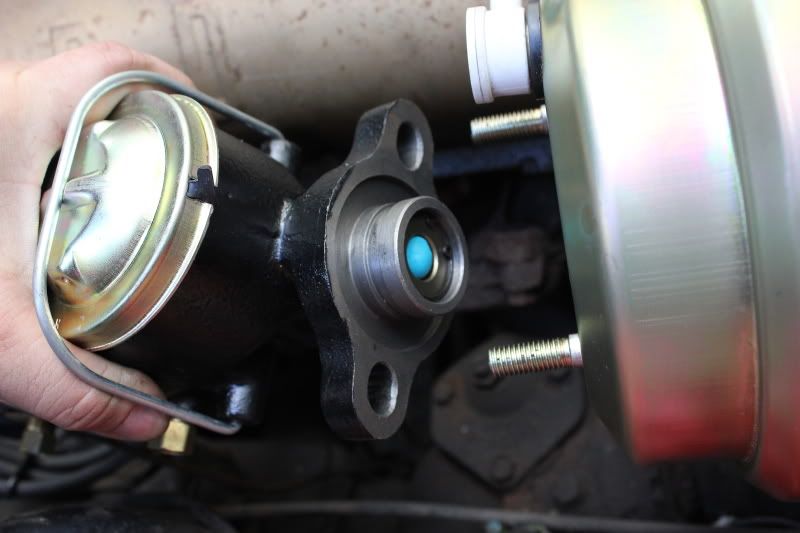
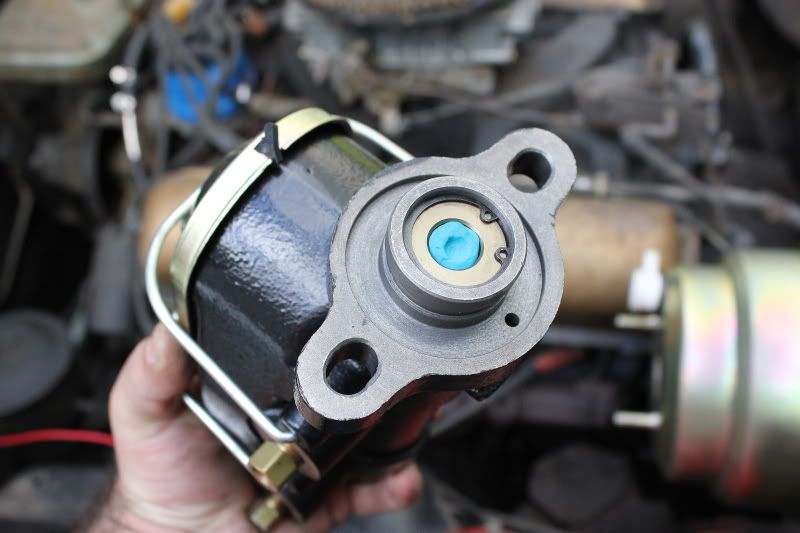
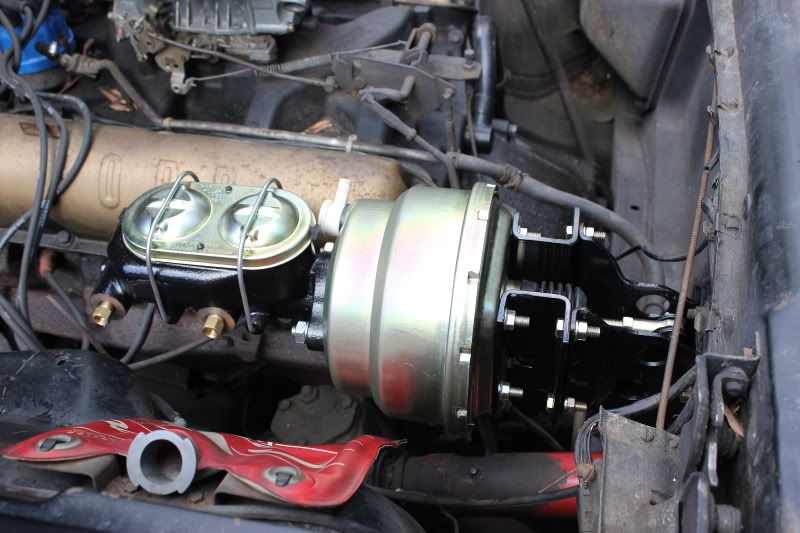
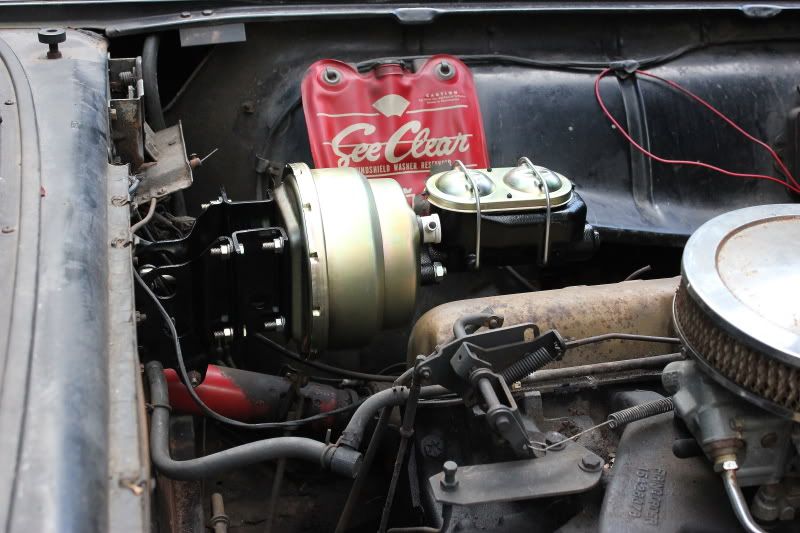
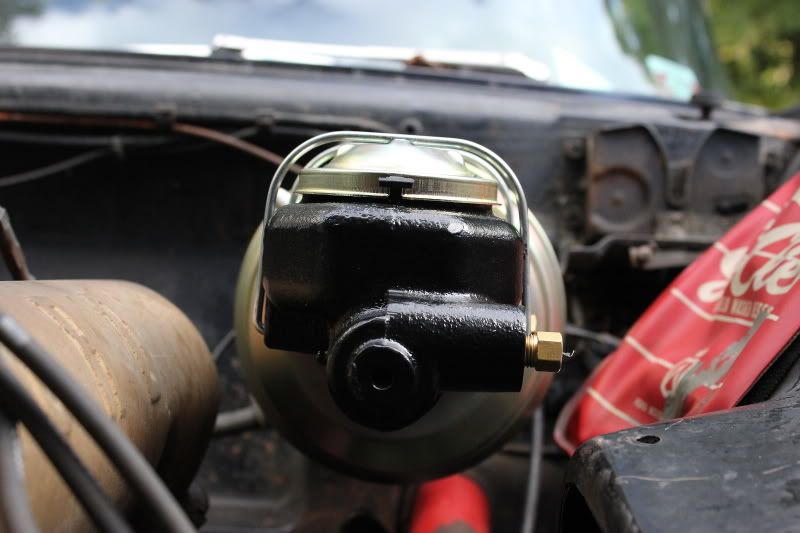
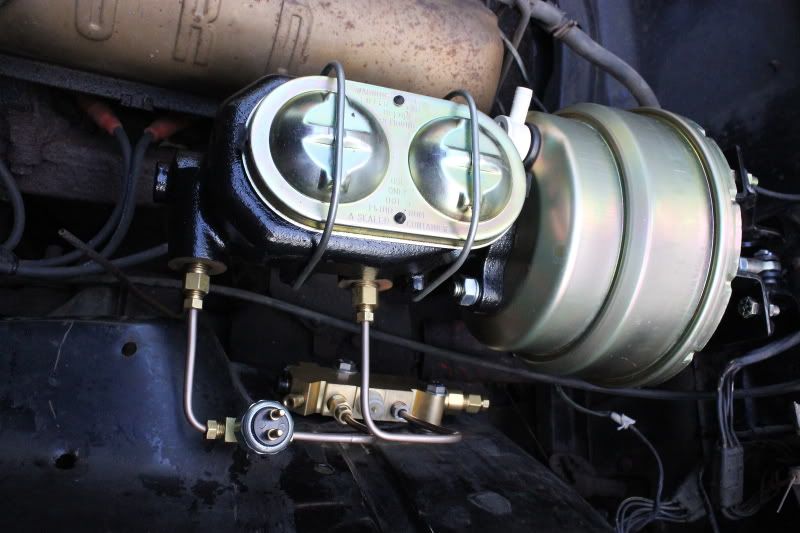
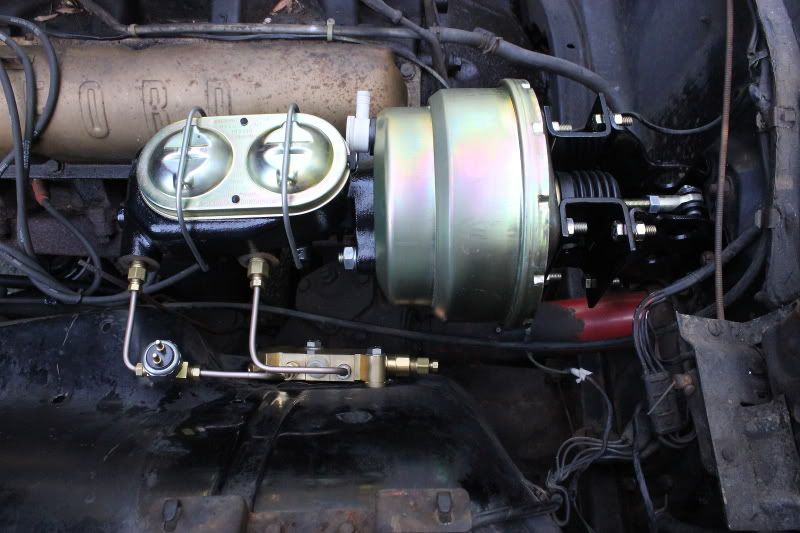
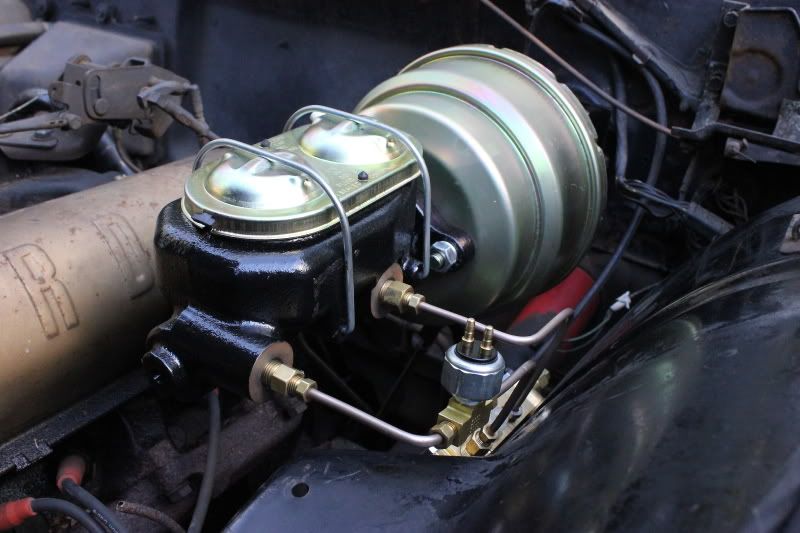
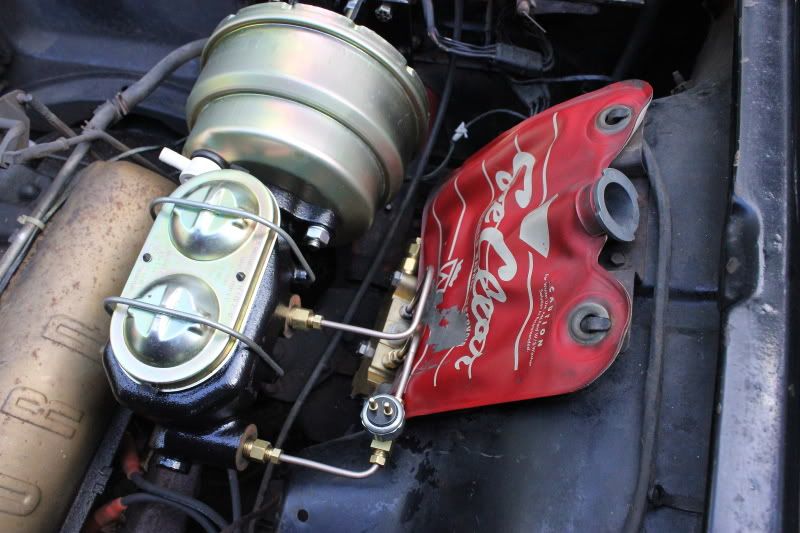
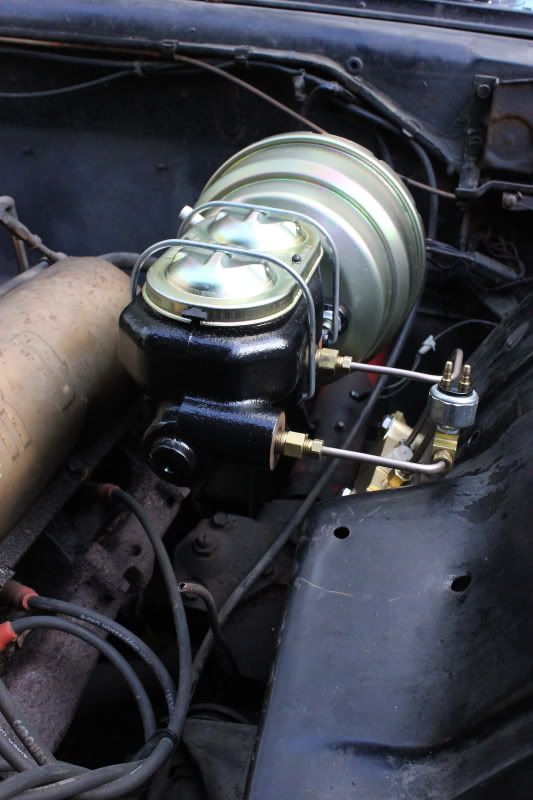
)  Those brackets you made are great. What's this reserve tank you speak of? I was wondering where that vacuum line went after the "T" in the old booster. Do I still need it? Thanks for pointing out the check valve, I thought it was just an elbow.


Comment