The Following Illustrates Proper Seatbelt installation as outlined in the Ford Instructions for a 1958-1960 Thunderbird.
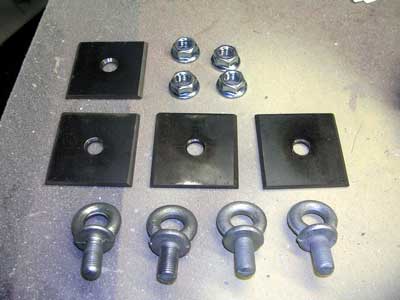
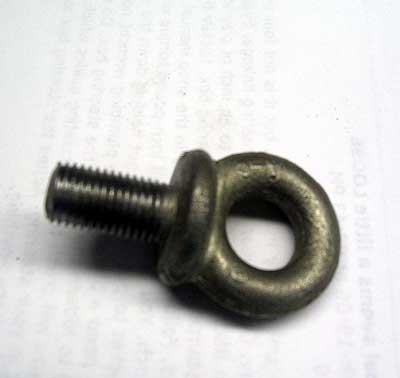
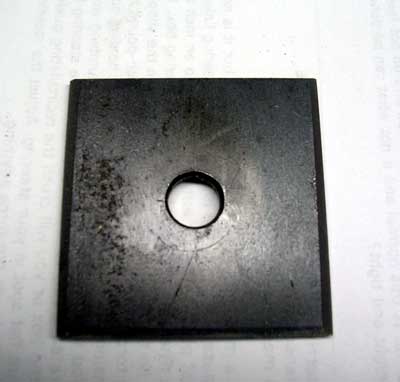
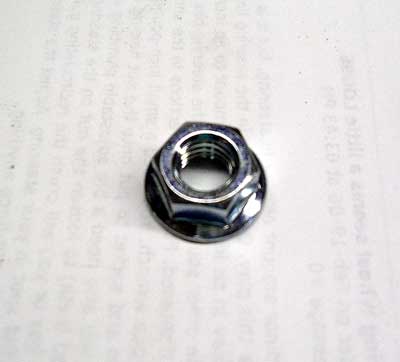
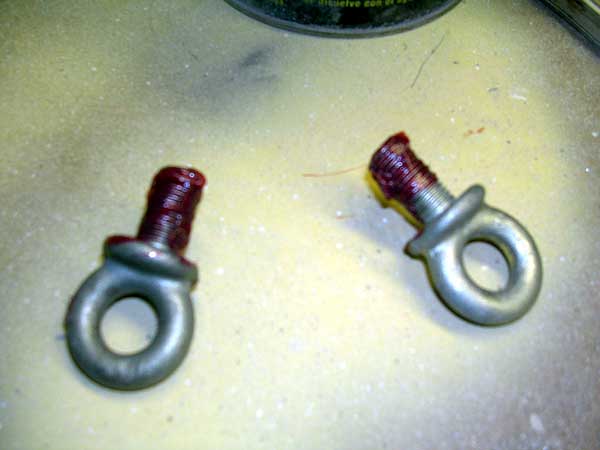
Above are all the parts needed for the installation, NOS eye Bolts were used as well as 7/16-inch KEP nuts. Make sure the KEP nuts are FINE threads only. These might be impossible to find as we found out later. The flange is constructed of 1/8-inch steel plate with a 7/16-inch center hold. It measures 2 1/- inch square and the edges are beveled.
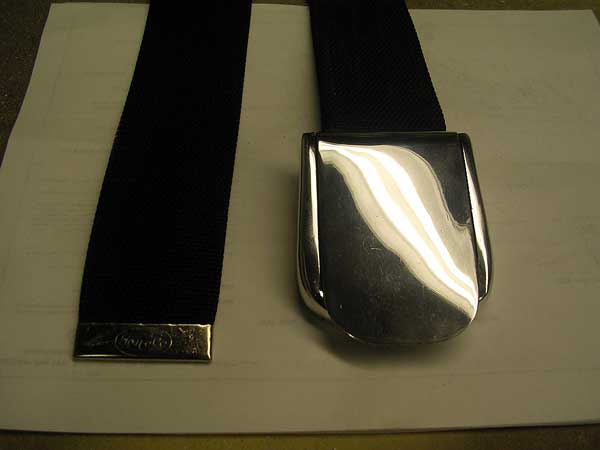
Original Belts in pristine condition. Notice how clear the FOMOCO stamp is.
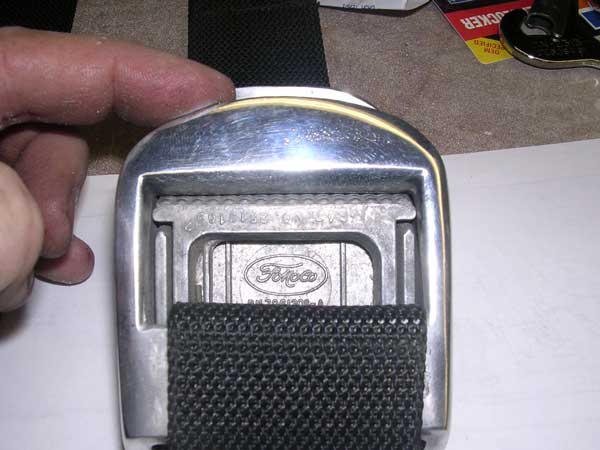
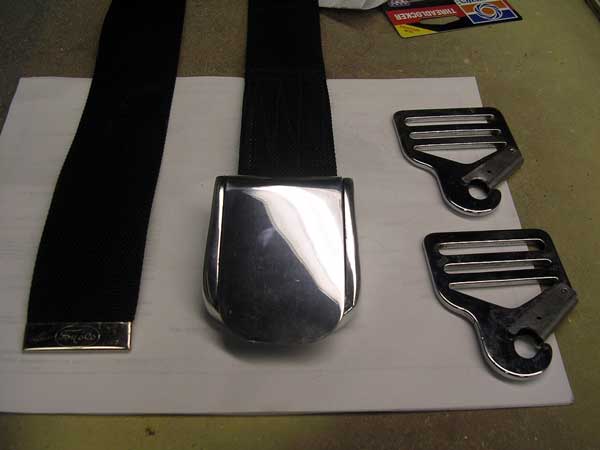 Buckle and sister hooks. Notice the little tiny hole for the cotter pin.
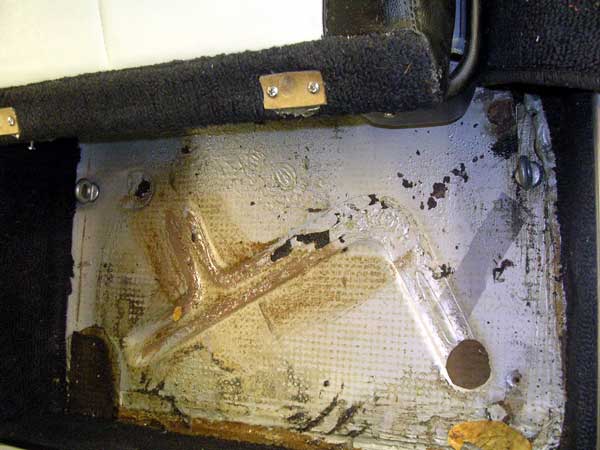
To Begin, unscrew the carpeting in the rear of the seats and peel away., there should be 4 tiny screws to remove. Then slowly peel back the tar paper, you might have to use a blow dryer to heat this and a flat knife to remove it on once section. 45 year old tar paper where people put their feet is not too easy to remove..Take your time.
You will see the "Dimple" in the floor that Ford has there for you!
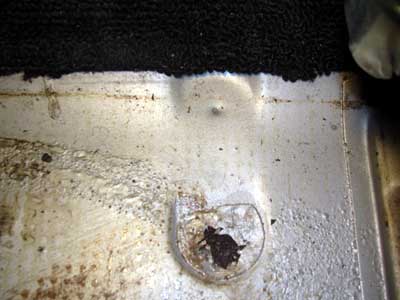 This is a great shot of the "Dimple" in the floor board. This is the passenger seat and once the carpet is removed, and the tar paper you can see the dimple very clearly. This is the DRILLING spot that you must use. Use a 7/16-inch carbide drill bit, I always use oil as not to heat the metal and the bit. Drill all the way through and file the rough edges.
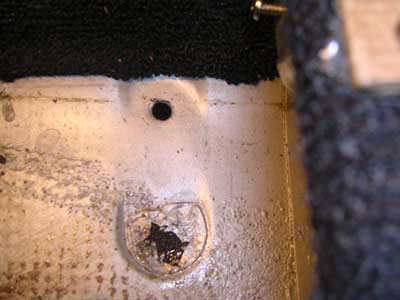 Finished Dimple Drilled for the eye bolt and cleaned.
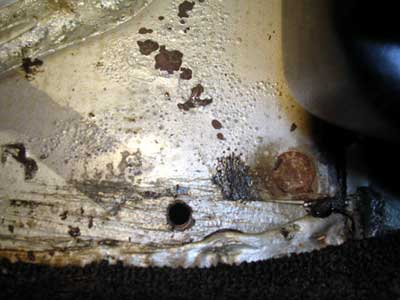 This is the passenger right side. The DIMPLE is noticeable. However the hole is to be drilled 2.50-inches TOWARD the rocker panel.. This is important for proper placement of the belt. Notice the drain hole just about 2-inches above the drilled hole. The original dimple is just above the shot here below the paint chips. Interesting caulking done by the rocker also.
 Prior to bolting the eyebolts I used a silicone. This will prevent rust and also does allow the bolt to go on easer. The eyebolt goes into the floor pan, flange next and the KEP bolt, if you cannot find a KEP bolt use a high steel washer and a lock nut. Do NOT remove the lock nut once on or you need to use another, these lock hard and once removed are of no use, so get a couple extra just in case.
 Both eye bolts have been secured in. This image helps with the location better. Drain plugs are also visible here.
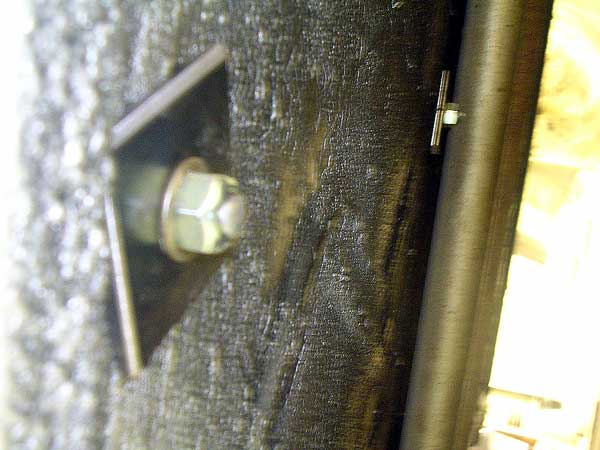 This shot shows the bolts under the car and secured., They will be undercoated as the rest of the car but better to see here for clarification. You can clearly see the flange, washer and the locking nut.
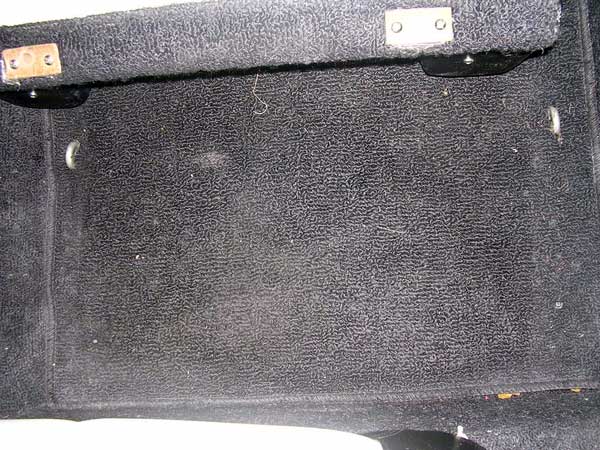 Once finished put back the tar paper as you removed it, screw in the carpet as the best you can. Here is the finish when the carpet is put back and screwed in. The bolts tops are all that is shown, Make sure you cover the bolts, hold the carpet taught and then make a tiny slice on TOP of the bolt to get the correct cut in the carpet. You might also have to peel back the rug and carefully cut some of the insulation underneath to get the bolt top to come though.
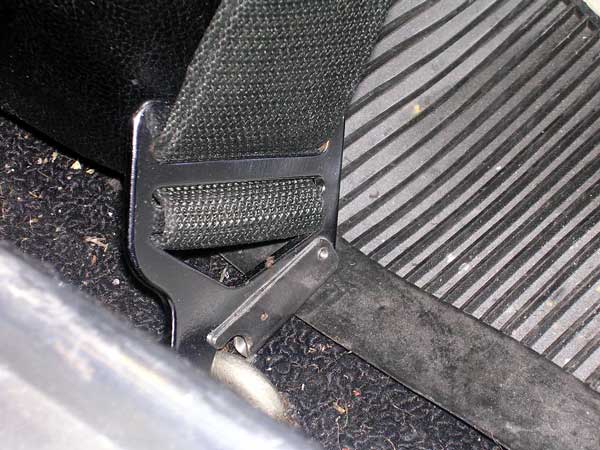
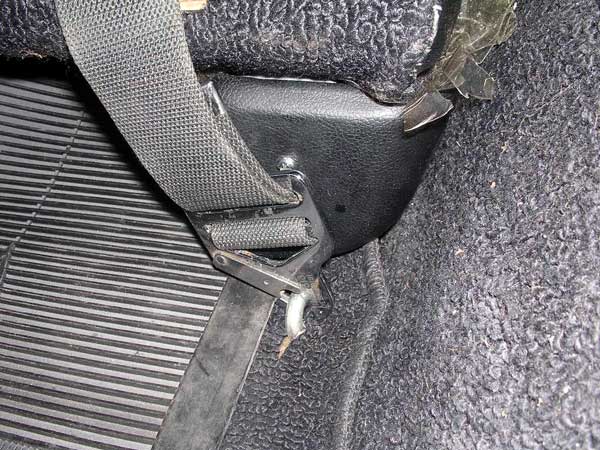 This is a shot of the Drivers RIGHT side, the sister hooks attach to the eye bolt and go UNDER the seat NOT around the seat.
 Driver side LEFT. NOTICE the tiny hole. This is where you MUST insert a tiny cotter pin. This is to prevent the sister hook from coming off the eyebolt when driving!!
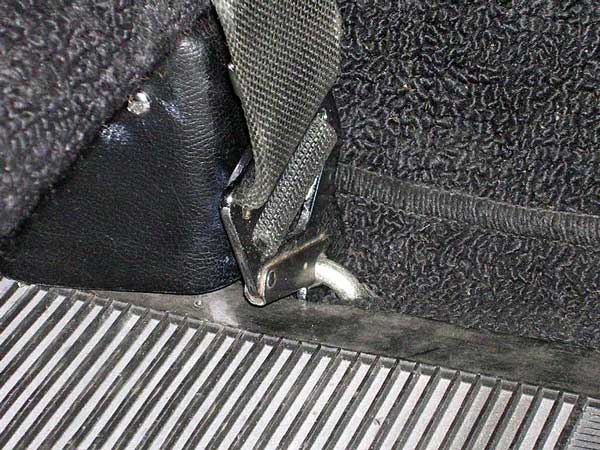 Another shot of the attachment and of the tiny cotter pin hole. The belts clamp on very easy.
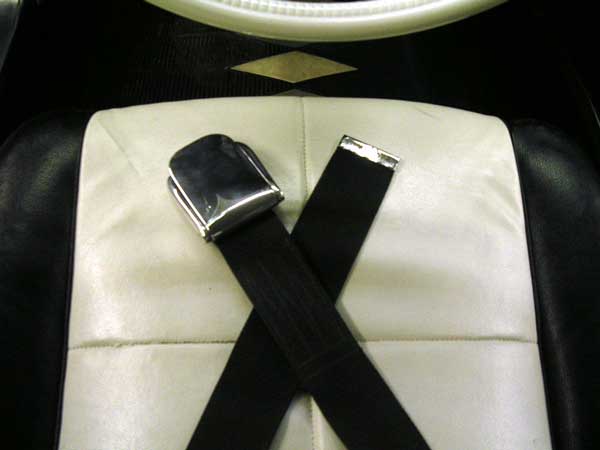 Finished job. It is IMPORTANT that the Buckle side is to the RIGHT of the driver and the LEFT of the passenger.
I hope these illustrations help for your installation. The total installation time is approximately 2-hours.
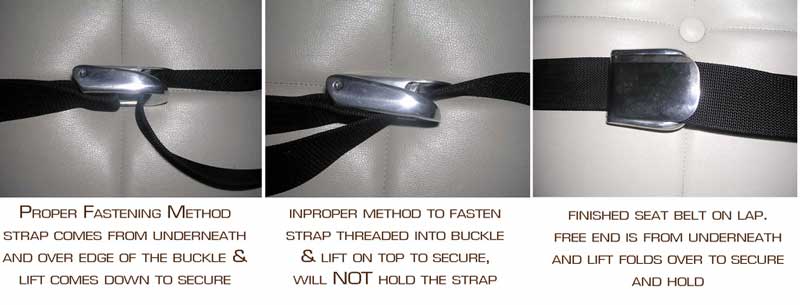
Here is the proper method of securing the belts for safety.